How To Play With Perspective?
Photography is a form of art in which we have full control over the outcome. Some people are extremely strict about being genuine to their photography and the final outcome must be what they see on their camera screen. But will that outcome always be representative of the actual scene? And where do I stand in those statements? It is a serious debate for some people!
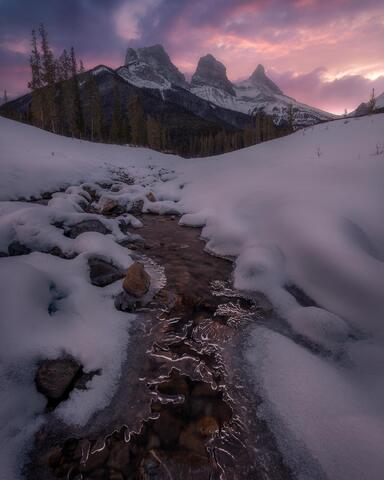
The reality of the situation is the nature of the equipment that we are using will have a great impact on the visual aspect of the final outcome. When using an Ultra Wide angle lens, plan compression will cause the foreground to be much more present than the background. The proportions will often be incorrect… I love to take images with an ultra-wide angle lens and more specifically in vertical format. Doing so will make everything at both ends of the frame more elongated. And I love to use that feature of an ultra-wide angle lens to my advantage.
FOCAL LENGTH BLENDING
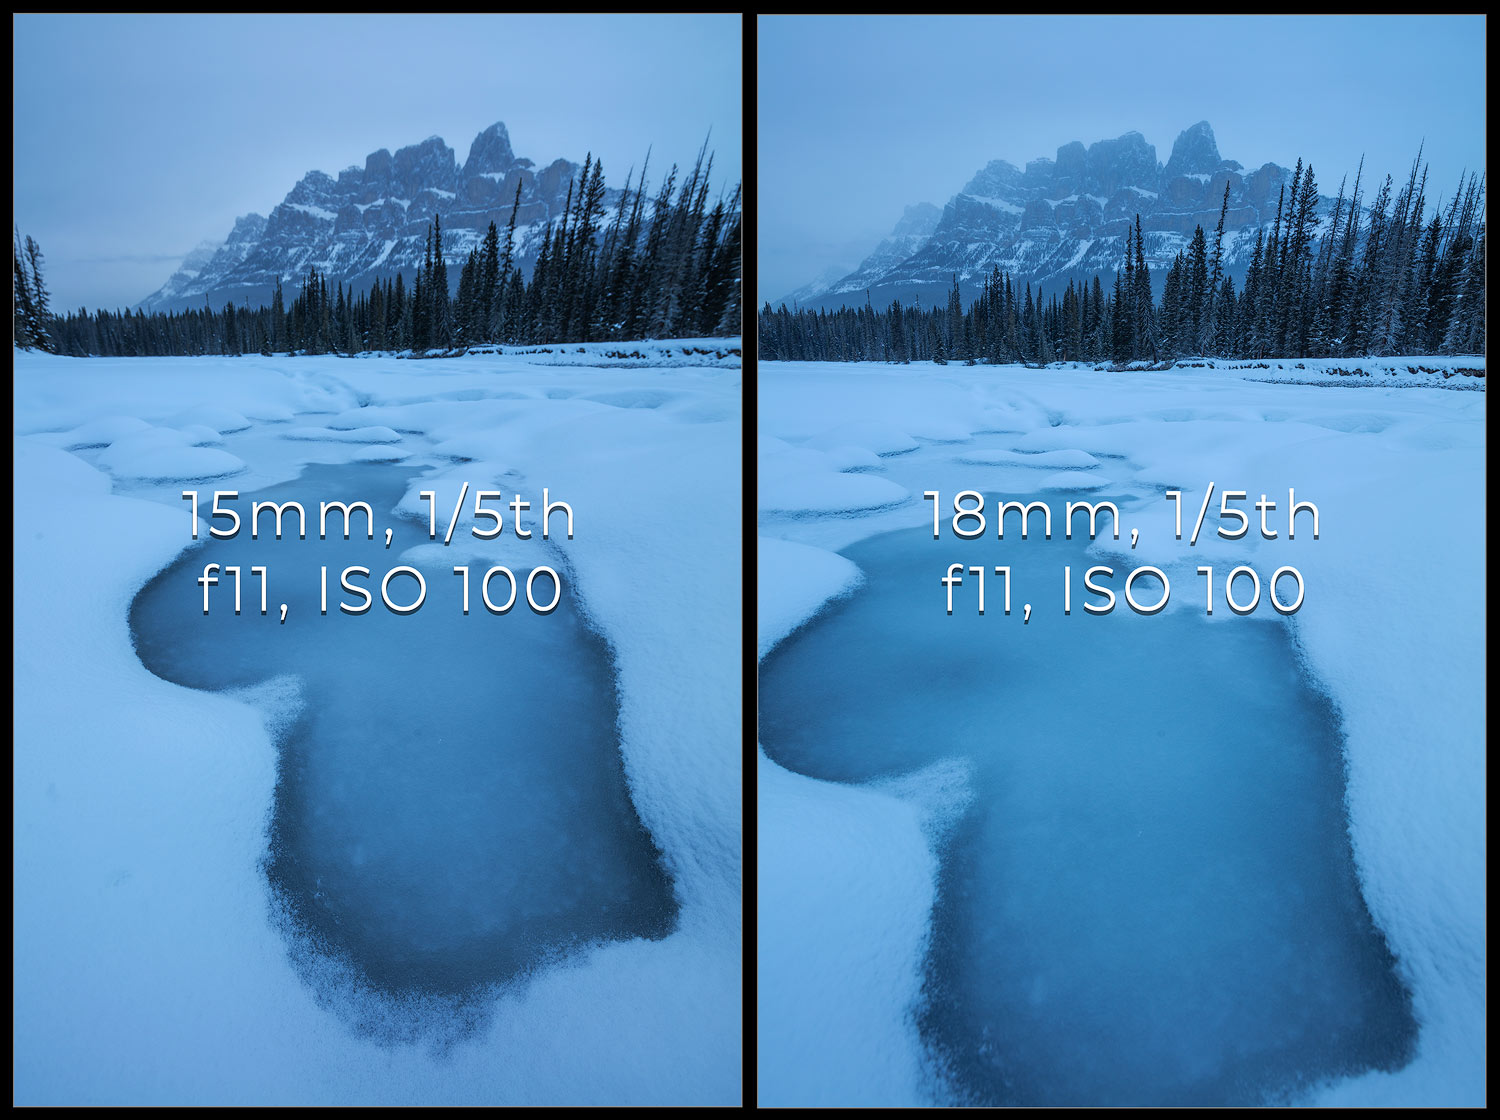
Even if you do just that and shoot with your camera vertically oriented, the main subject can still look very small in some situations. Lens elongation of elements located at both ends of the sensor will not always save the day. I will look at the mountain in the scene and it will look much more present than on the image I am framing. What should I do then? I don’t want to change my composition…I do want all the elements of my foreground but I would also like that mountain to look a little bigger… In those situations, I will do Focal Length Blending. That technique consists of capturing images for the foreground and the background at different focal lengths. It’s a little more work but the elements of my final outcome will have more realistic proportions.
Winter scenes are for the most part very easy to blend together because they will be pretty much all covered with snow. Blending snow with snow in Photoshop just using a brush on regular masks is only going to take you a few minutes. Now that technique isn’t always going to be easy to do in the sense that things might not blend well in Photoshop. But beware that if you have complicated scenes with lots of vegetation or reflections, you might want to reconsider your choice of doing Focal Length Blending until you are fairly confident in your Photoshop skills. Practice with easier scenes first…

PERSPECTIVE BLENDING
Earlier in this article, I was talking about some photographers wanting to be as genuine as possible to their photography…I love to be as faithful as possible but if I have to do some digital manipulation in order to make things look more pleasing for my viewers’ eyes, I will! Photography is Art and I give myself as much creative freedom as possible!
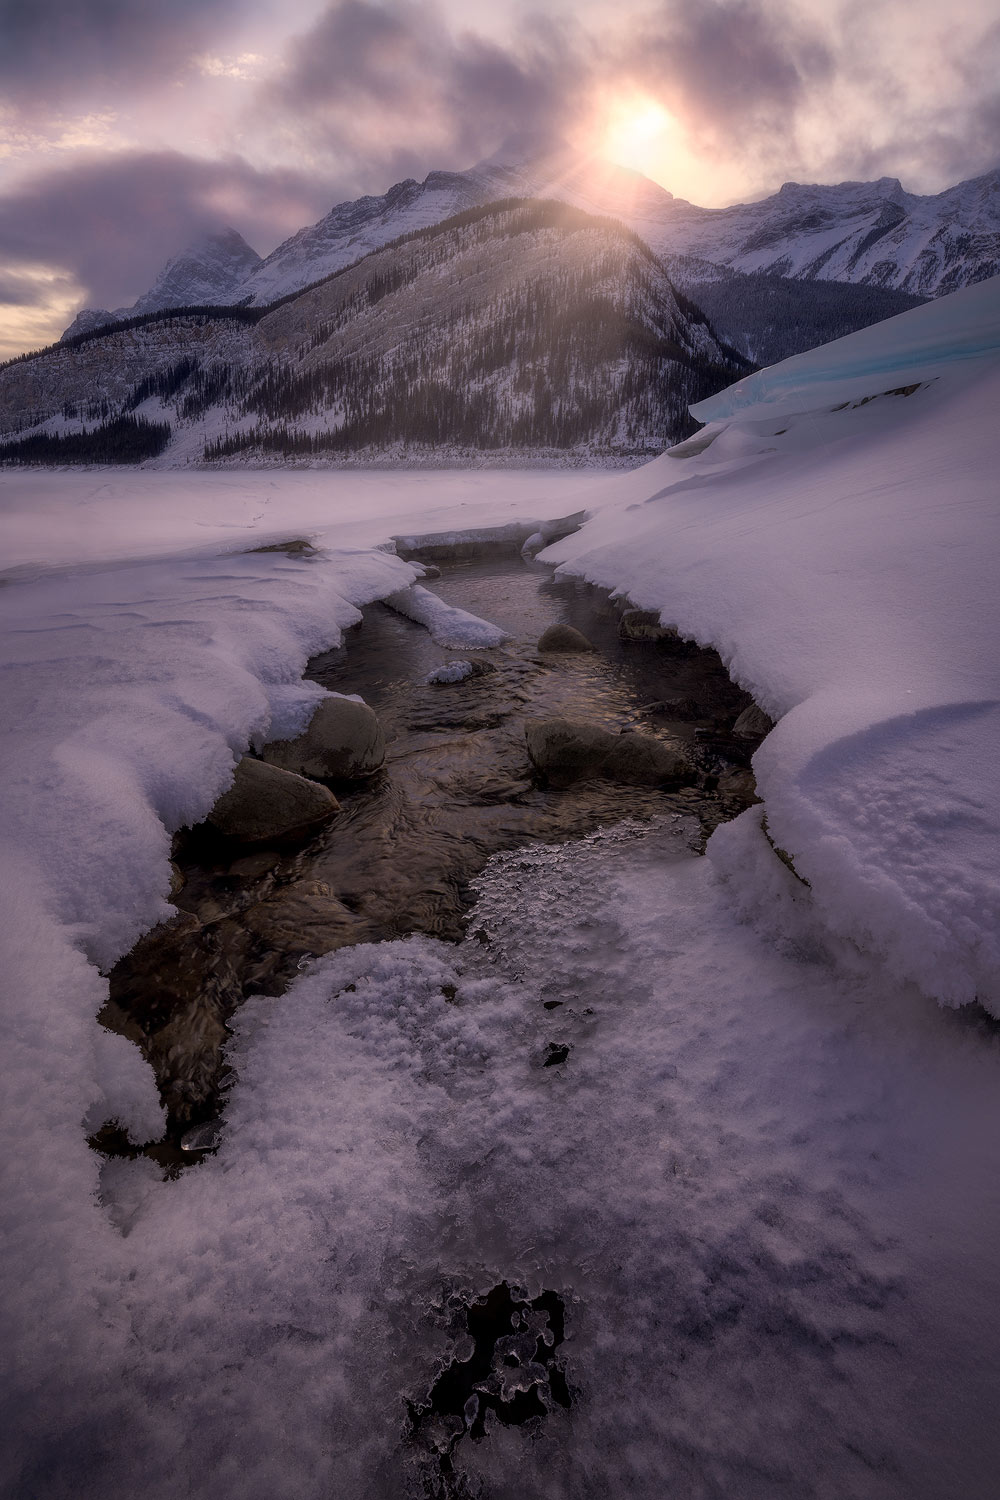
Here’s a good example: Let’s say I found an amazing foreground and can’t align it with the main subject I chose…no matter what I try, it simply doesn’t look right. What I like to do in those situations is to capture the required images for my foreground (focus stacking) and then slightly rotate my camera in such a way that my main subject is the way I like and blend the images in Photoshop later! Now how far you want to go with techniques like this one is totally up to you…I wouldn’t blend a foreground from one location with a background from another location as this would be considered compositing. I allow myself to play with perspective a little but I want all images to be from the same location and from the same day too…
WHAT’S THE LIMIT?
The limit? There is none as long as you are comfortable with your art and enjoying what you are doing. I can go as far as capturing images for my foreground, mid ground and background and then assembling them all together in Photoshop. I want visually strong and impactful images…and if that implies doing focal length or perspective blending to achieve the final result I want, then I will put in the effort!
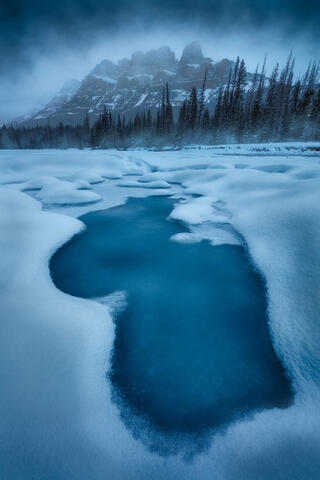
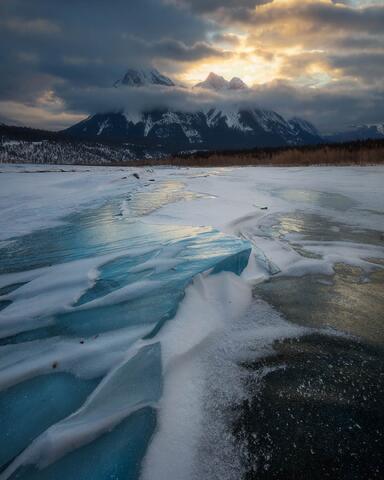
The image below is a good example where I simply couldn’t get the scene to look right on a single image. I love to challenge myself…and I wasn’t going to be satisfied with what I was seeing on the camera screen. I just didn’t fully like it. I decided to capture the whole scene in three different steps: first, the ice in the foreground, I made sure to focus stack correctly so I had all the details in perfect focus, then I changed focal length and captured images for the mid ground. I truly loved the way the partially frozen river was creating an S shape into the mid ground so I settled my camera a little higher on the tripod by readjusting the length of the tripod legs. That S shape serves a great purpose at bringing our eyes into the frame. And then finally the mountain was still looking way too small so I changed the focal length once more and captured a few images for the background. Blending all those images together did require a little bit of patience…it wasn’t the easiest task ever but the end result is really representative to the scene in front of my eyes!

…IN CONCLUSION
So in conclusion, people might or might not like those kinds of techniques because they aren’t representative to what they were seeing on their camera screen…true but limiting yourself to what you see on your camera screen won’t always be fully representative to the actual scene! Right? As far as I can tell, I love to create beautiful eye catching images that are faithful to the actual scene I was photographing and I will add my own artistic touch. That’s what artists do, right? We create Artwork!
As a workshop leader, I love to teach those techniques to my customers so they can have extra tools in their tool box…it might not be everybody’s cup of tea but having that extra tool could make your image look different from what has been done so far. One customer once told me at some point: ..if it requires that much Photoshop, is the image good? Is the image even worth it? And my answer to that is absolutely, yes! Shoot, improvise and make it yours!
I also use many other techniques when capturing my landscape images. If you would like to learn about some of them, you can read these articles: The Art of Focus Stacking and What Is Time Blending. Landscape photography might sound easy but it actually is quite technique!
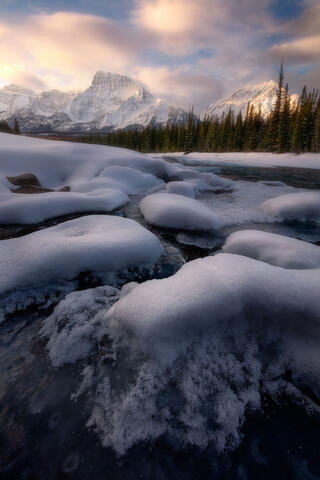
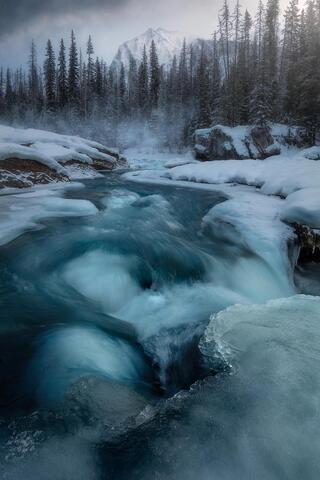
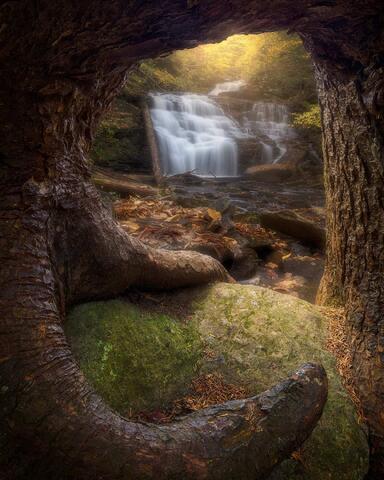
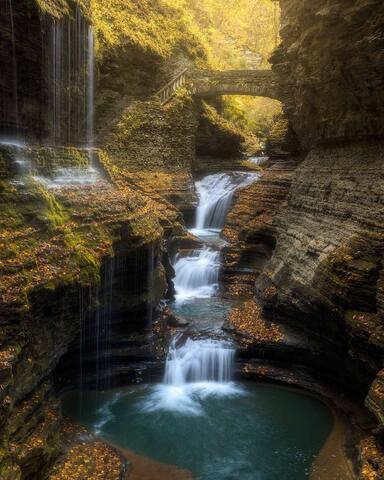
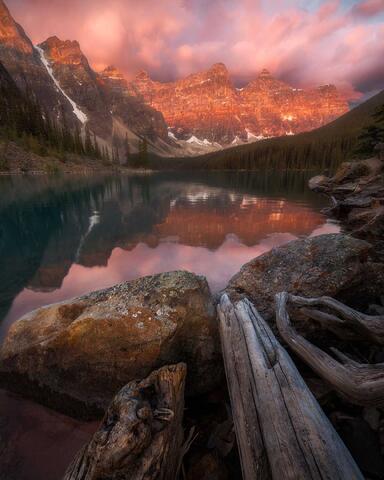
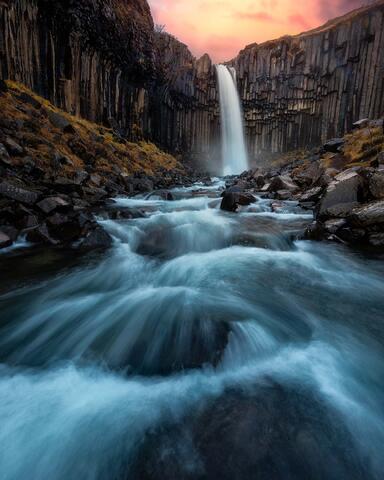
The 3 Perspective Blending image examples in this article are underneath in the same order they were presented to you. Have a look at the final outcome and let me know if the squeeze was worth the juice!