Seven More Photography Tips
How about seven more photography tips? Who doesn’t like a few tricks when outside photographing Mother Nature’s creation? It’s been a while since my last article on photography tips…what inspired me to write another one for this series? I had a customer that would come to me every morning during the workshop to ask a question or two and I showed him little tricks that would constantly blow his mind. Why? Simply because sometimes we just don’t think about the simplest things. But in most situations, these simple things make a big difference in our every day life as a landscape photographer.
.
USE SMALLER MEMORY CARDS
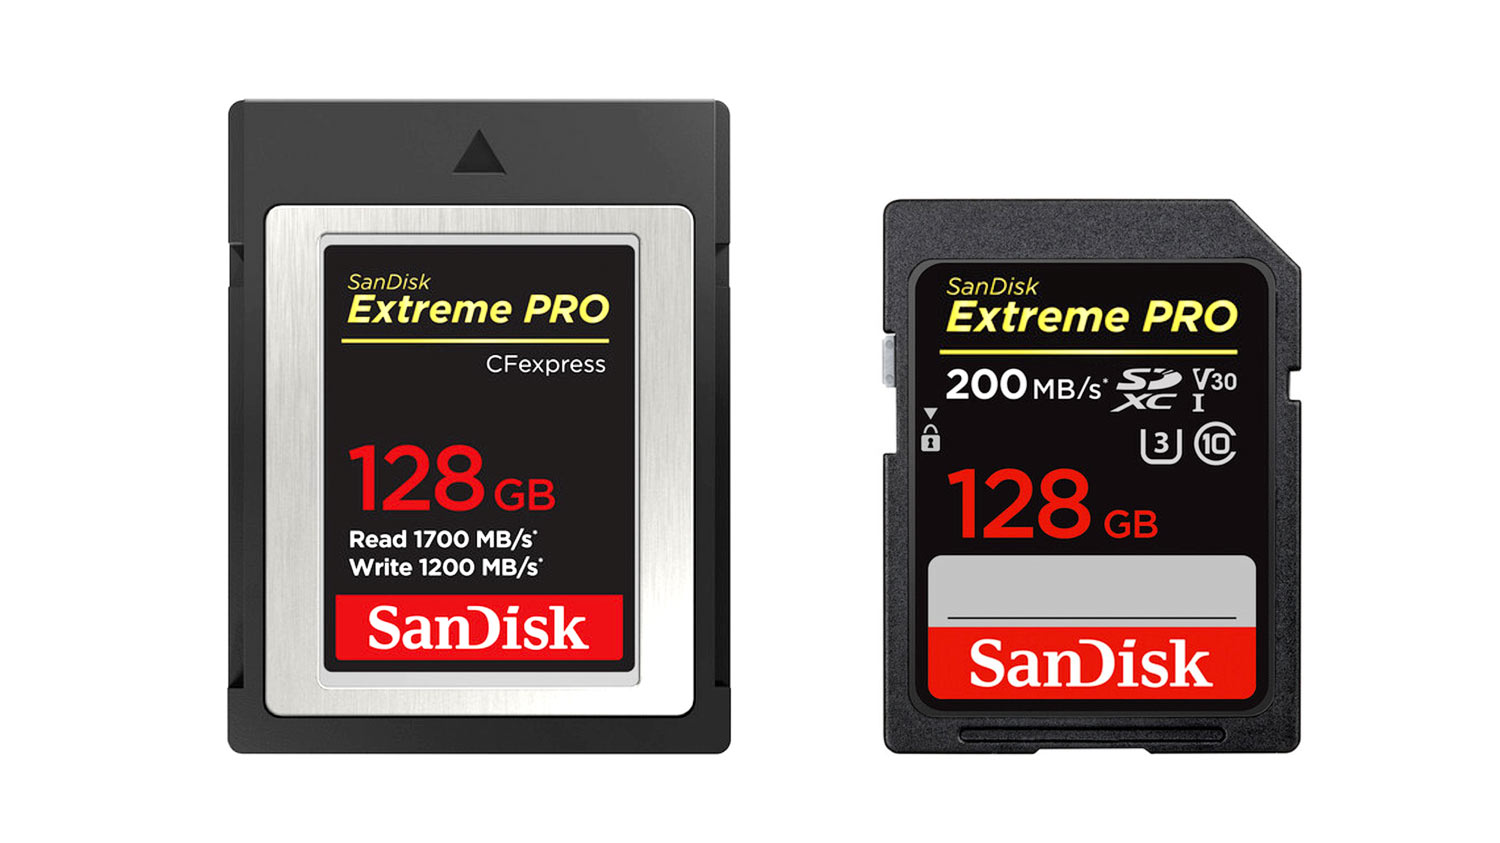
I will never say it often enough, use smaller memory cards instead of something like one or two terabyte memory cards. Could you first imagine having one card in your camera and for some mysterious reason one morning, the camera does not recognize the card? And you end up loosing a week’s worth of photography? Or even worse…dropping the camera off a cliff or into a lake to never see it again?
I’ll be honest with you, that’s probably my greatest fear. I fear losing my images. For that reason, apart from the fact that I shoot mirrored on two memory cards, I always make sure that I use top of the line memory cards from Sandisk Memory Cards and a maximum memory space of 256gb or even smaller. In both my cameras, I can use a CFExpress and a SD memory card. My setup of choice is 256gb for the SD card which I kinda use as an internal backup and the CFExpress cards are 128gb. That involves having a couple of extra memory cards of course. Let me be honest, I have only experienced a card failure once in my life and it was a cheap card from a generic brand so please make sure to only buy and use memory cards from top brands.
.
KEEP THE CAMERA ON A LEASH

It’s important to keep the camera on a leash. Why? Am I afraid that my camera might run away? I’m fact, yes! Let me explain what I mean here. There are some sketchy scenarios where the camera is almost on the verge of falling into a lake or off a cliff…you want to keep a hold on it but are kind of uncomfortable with heights?
I love to use Peak Design’s Anchor System which allows me to use or not use the camera strap. It’s a quick release system that clicks the strap on or off in seconds. I personally always use my camera strap. It’s very useful when the time comes to swap a lens or walk around. I hate to walk around with my camera in my hands because for some reason, I fall on my butt quite often. Having both my hands free did save me a couple of times.
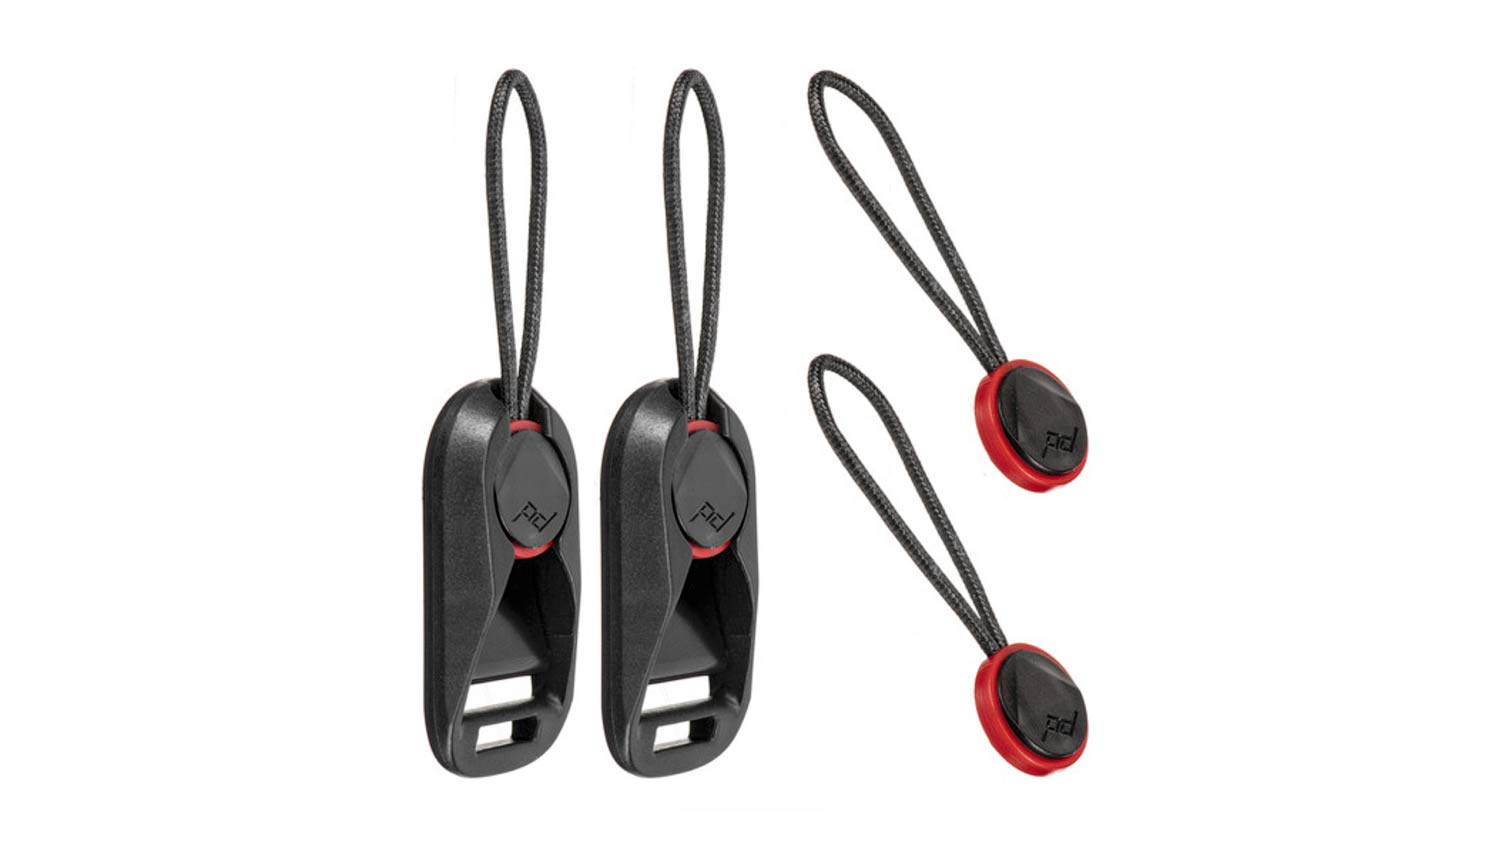
But as mentioned earlier, in sketchy situations, having the option to clip in only one side of the camera strap while it is on the tripod could make a big difference between it falling or being saved. Let’s say you are photographing a lovely coast line in the Faroe Islands, you turn around a fraction of a second to get something in your camera bag and a big gust of wind swipes your camera off the cliff…that would suck! If you had that camera on a leash with the Peak Design Anchor System, you could save your precious camera.
.
FUN WAY TO CLEAN LENS
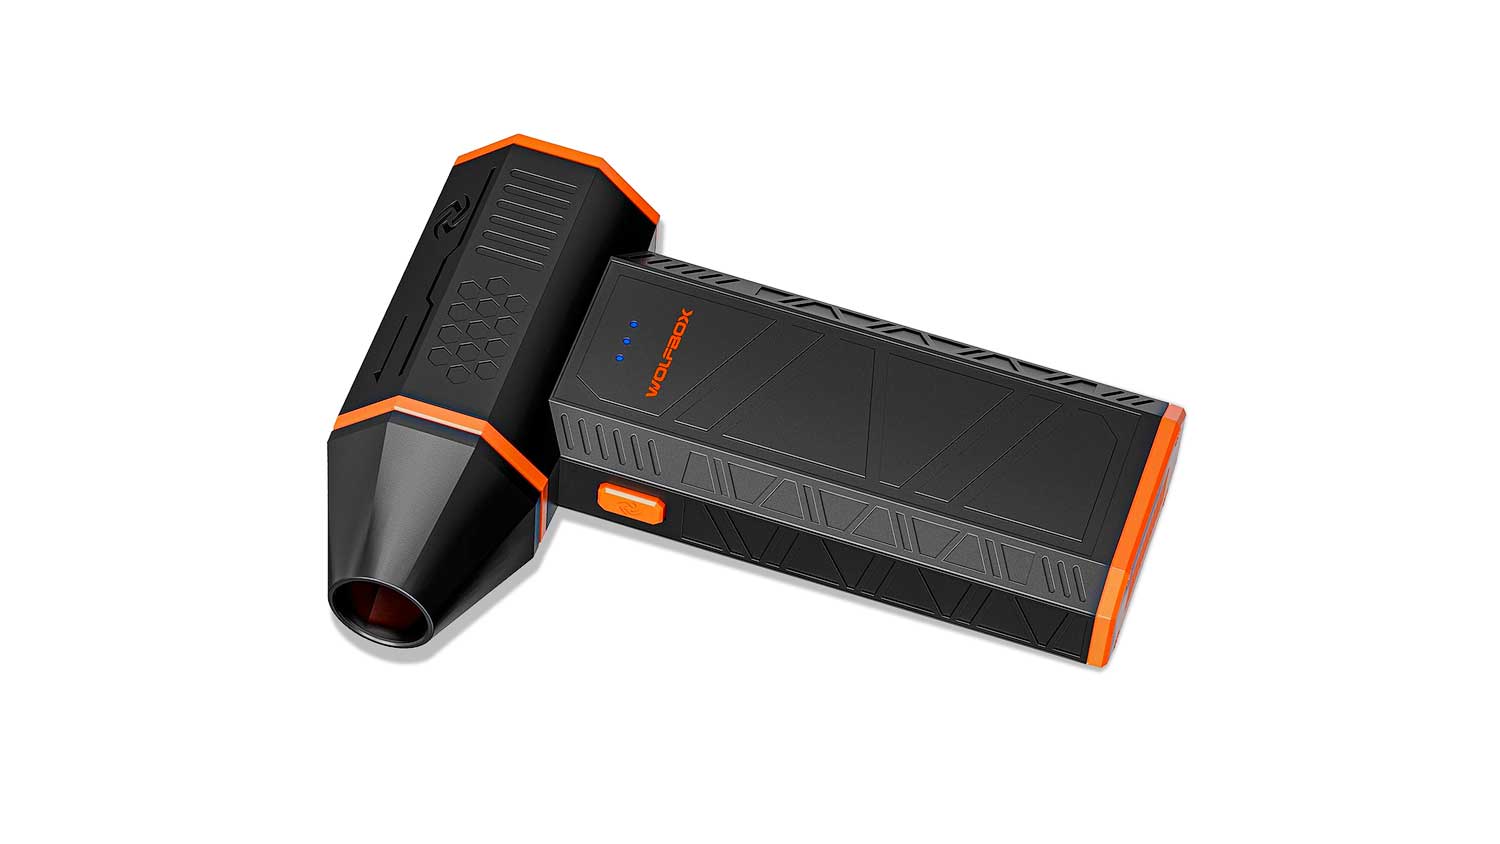
Let me share a really fun way to clean a lens… I just so happen to love shooting water in motion. I love crashing waves, I love rushing waterfalls and the reality of the situation is that no matter how much I try to keep my lens dry, it will get wet at some point. No problem! I have a ton of lens clothes in my camera bag. I use one for a couple of images and it becomes all wet, so I use a second one and a third one…by the end of the day, I have a bunch of unusable lens clothes that would simply create a big swirly wet mess on my lens.
The funniest little gadget I found on Amazon is a battery powered air blower. And trust me, it blows! If I direct it on my skin at its most powerful setup, my skin wrinkles! I think it’s fair to say that it can do a fantastic job at blowing water or dust off a lens! It is super compact, rechargeable in a USB port and cheap…plus it does a good of cleaning a lens? That’s a win win for me!
.
2 SECOND TIMER
If you do a lot of focus stacking or time blending and absolutely want to avoid any camera shake while capturing images, use the 2 second timer! I love to use a remote shutter, I have a couple of wired ones and I must have one or two wireless remotes too. I am coming from the film era, I am old school and just prefer to use a good ole wired remote. But that isn’t everybody’s case. Not everyone actually likes to use a wired remote…and techniques such as the ones mentioned at the beginning of this paragraph are very sensitive to camera shake. If you do have camera shake or movement between images, you may end up needing to align images before blending them together or worse, in some cases they may not even assemble together correctly. The 2 second timer or even the 10 second timer are two very useful free tools to use in a variety of different situations.
.
WIRELESS SHUTTER REMOTE
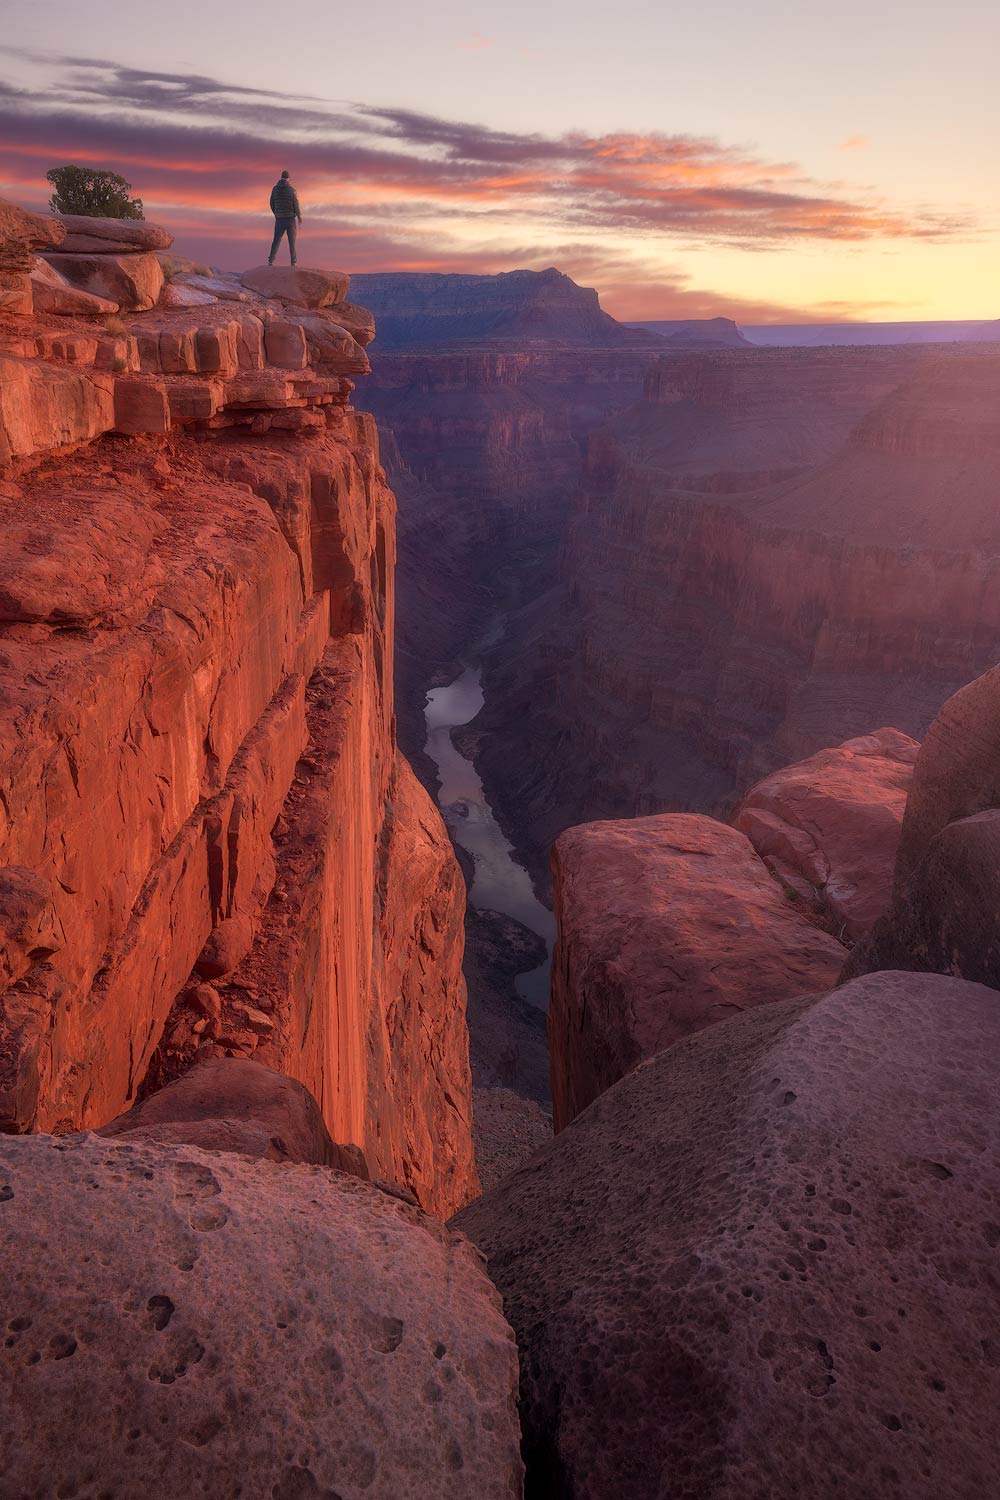
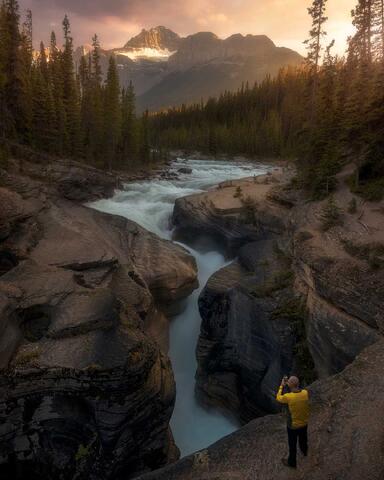
There is a big trend right now where people like myself like to include themselves in their compositions. We don’t all have a friend to press the shutter button and sometimes the 10 second timer won’t be enough. Not going to lie, I wasn’t feeling like running along the cliffs of the Grand Canyon so I asked Tracy to help me with the above image. If you don’t have a Tracy to help you, consider using a wireless remote shutter. Some remote shutters will allow you to be quite far from the camera and still work flawlessly.
If and when buying one, just make sure that it works with frequencies and not via infrared. The infrared remotes will only work a couple of meters away from the camera and only if you point it correctly to the camera. I use Canon equipment but I must say that Sony has a truly fantastic wireless remote shutter for their system. It is not only very elegant, it pairs with the camera in a matter of minutes and works like a charm.
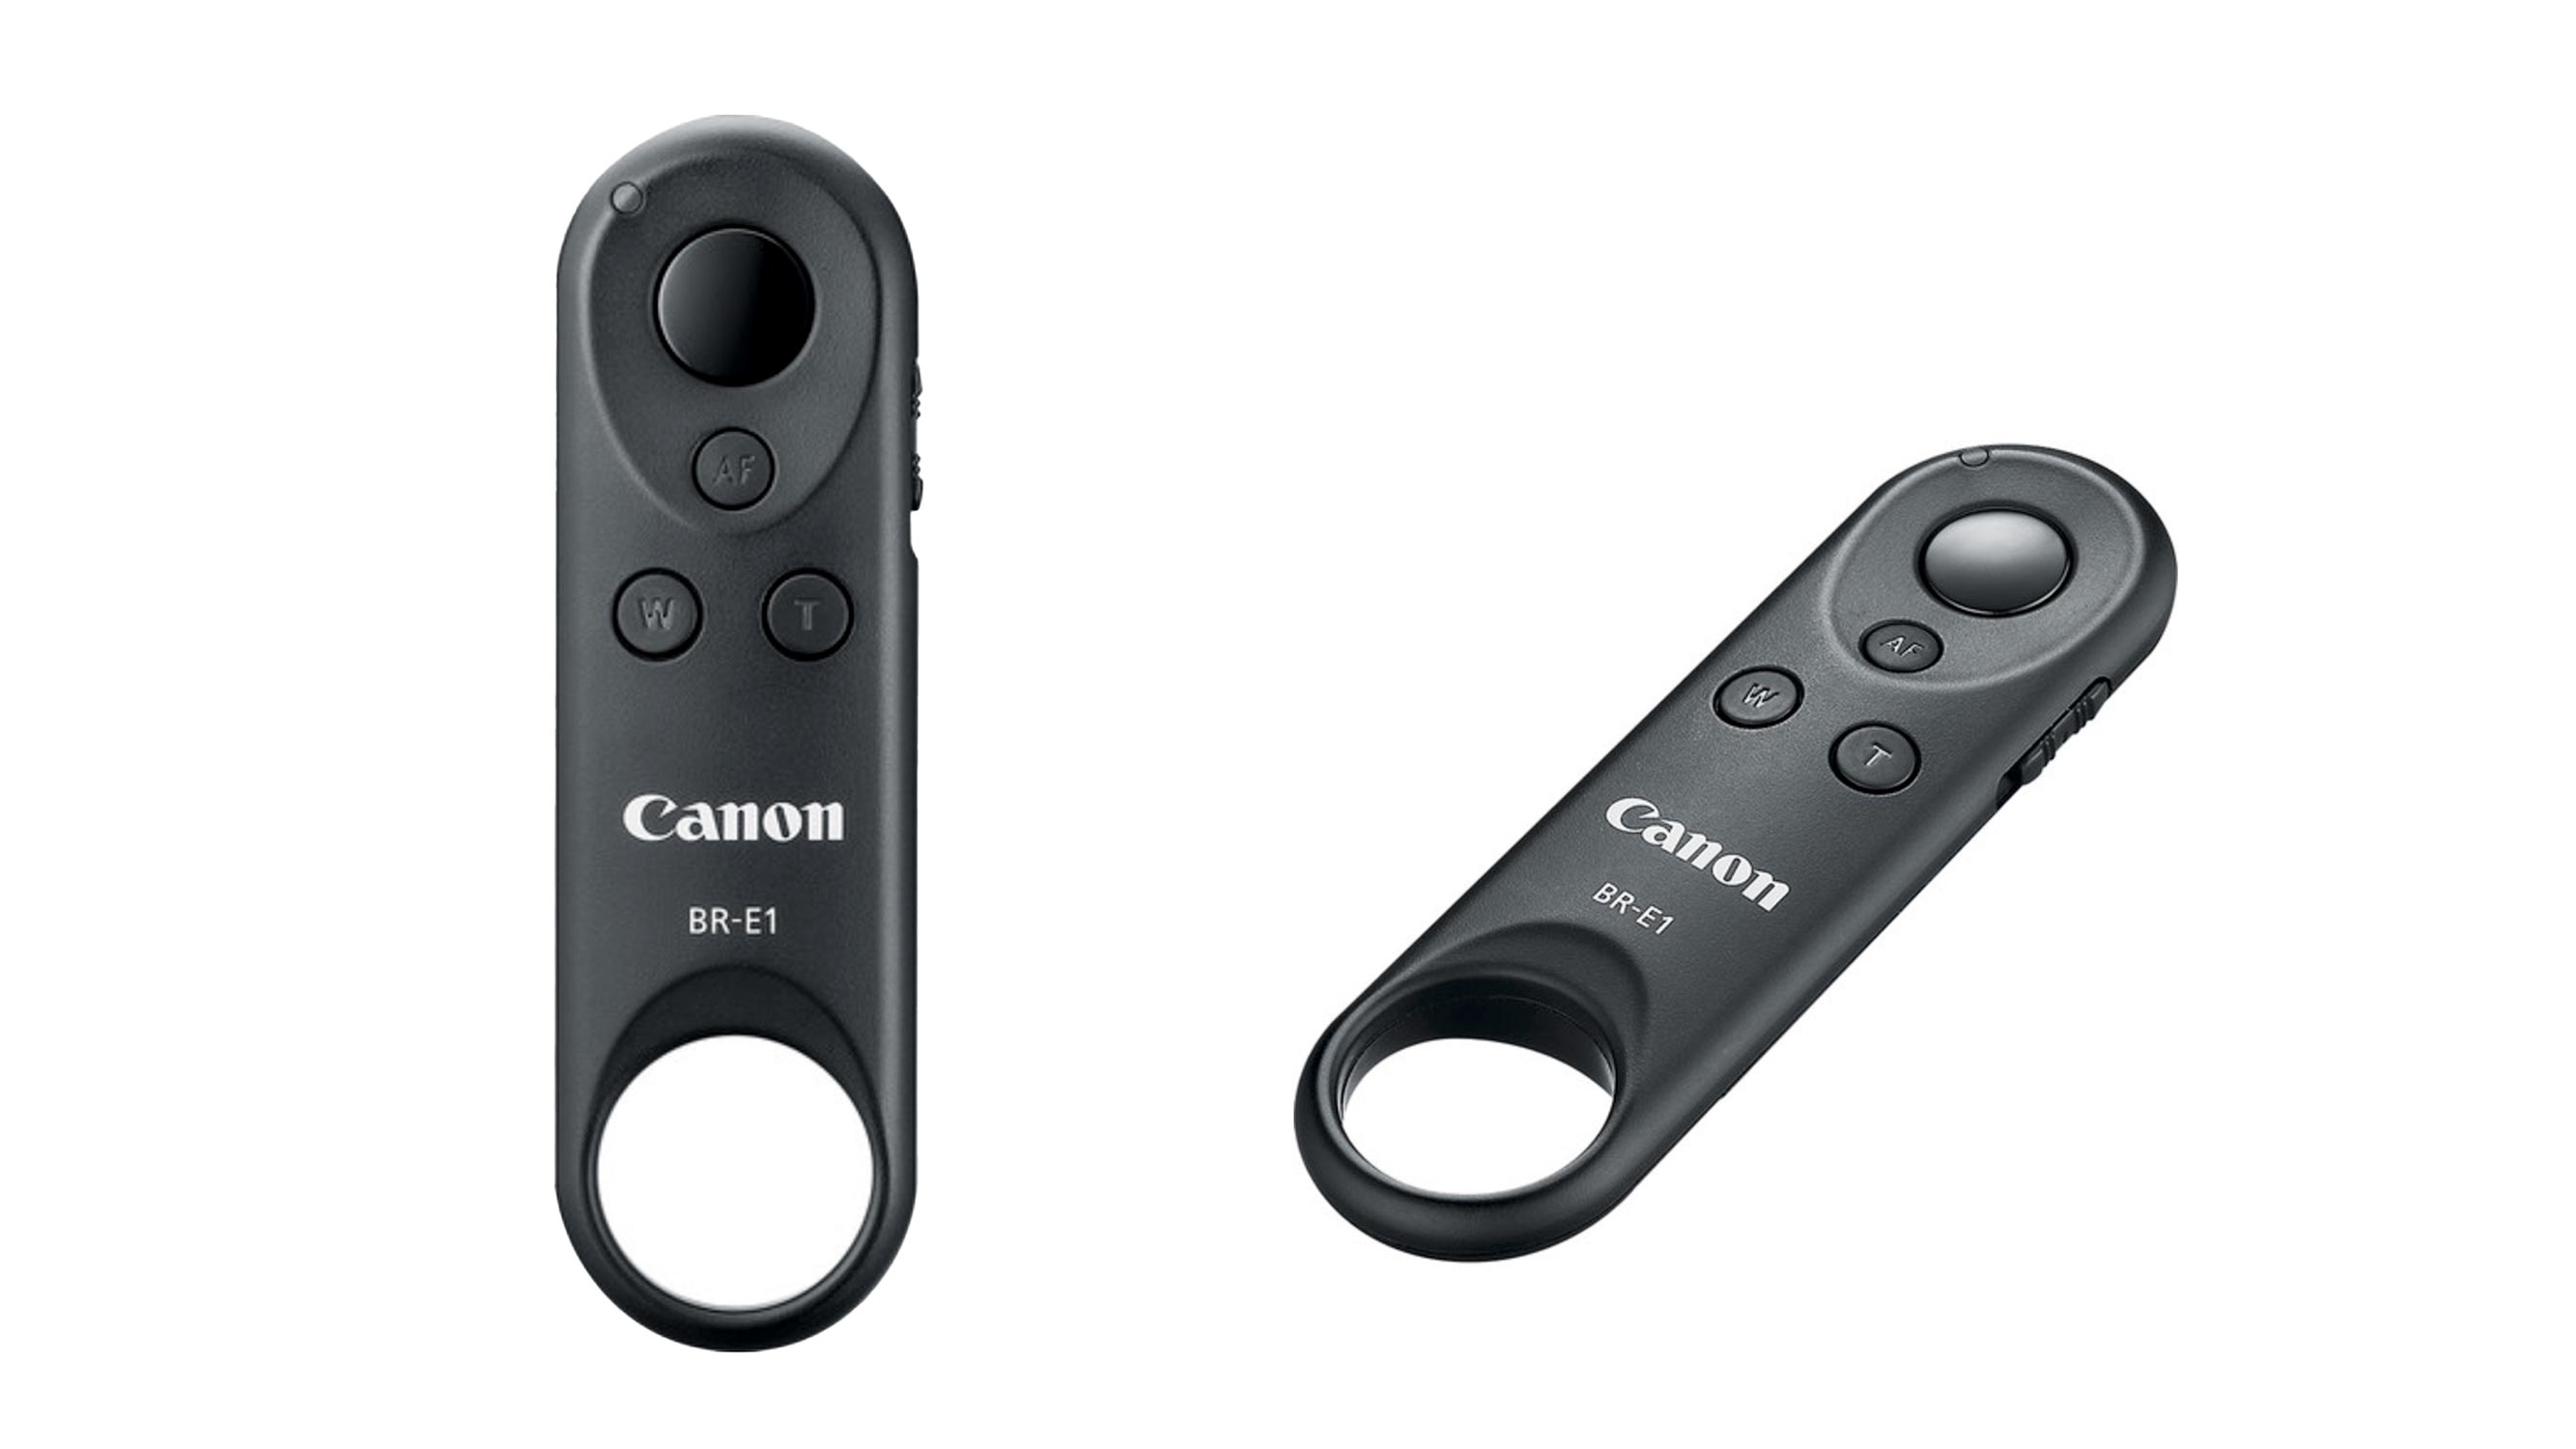
Another option to wireless remote shutters, some camera manufacturers have integrated some features which allow their users to download an app on their phone, connect to the camera via Bluetooth and trigger the camera through said app. Some of these apps will also even show a preview of the image on the phone which can come in super handy when photographing creative selfies.
I also once dedicated a whole article to Selfie photography...CLICK HERE if you'd like to read this one.
.
NO HIKING POLES?
I understand that we all want to travel as light as possible. But would you go hiking with no hiking poles? I personally wouldn’t but hey, I am just not everybody. If you choose to go hiking on mostly well maintained trails that barely justify the need to bring poles, then just leave them at home.
I am not going to lie, even though I prefer to use my poles, there are times when I simply forgot them in my car or by pure matter of laziness, I decided not to bring them. Then after hiking for a while, I realize that I have to cross a river on sketchy rocks or go on a ridge that would definitely require the use of hiking poles. Since I always bring my camera tripod, I will not shy away from using it as a single pole just to give me the extra balance required to cross said obstacle. So the tripod ends up being a multi purpose tool. Another win win!
.
IS A TELECONVERTER ANY GOOD?

Over the years of using a long lens, I often debated whether or not if a teleconverter was any good. The one lens that does it all does not exist sadly…and there will be scenarios where you wish you had those extra millimeters of reach.
I did multiple tests with and without a Canon Teleconverter only to realize that I was better off simply cropping an image that was captured without the teleconverter and even though I had less resolution, the overall sharpness was fairly the same. The truth of the matter is that a teleconverter does eat quite a bit of sharpness. Not buying a teleconverter not only saves you money, it will also save you a bit of weight in your camera bag.
.
…IN CONCLUSION
In conclusion, all of these tips are meant to make your life easier while enjoying landscape photography. You might already know of one or two of these but I’d be glad to know if you learned something new today. Send me a message if you’d like to share a fun tip that makes your life a breeze in the wild!
As mentioned at the beginning of this article, this new article is part of a series. If you’d like to read the other ones, you can click on CAMERA HACKS AND FIELD TIPS , MORE CAMERA HACKS ANF FIELD TIPS , A FEW MORE FIELD TIPS for even more useful photography tips to help you having a better time out there!
And yes Jim, I was definitely thinking about you when I wrote this article! It was so funny to see your face every time I showed you something new. I remember that these tips were making your day better and your fun reaction sure made mine too.