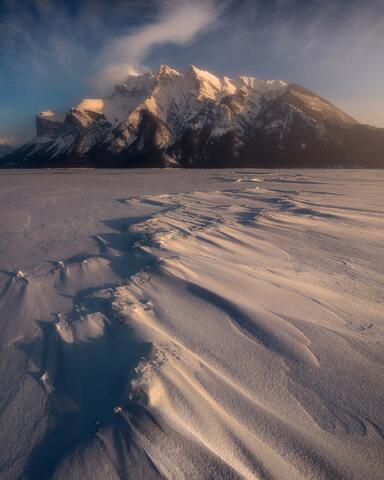
Perfect Example of Time Blending
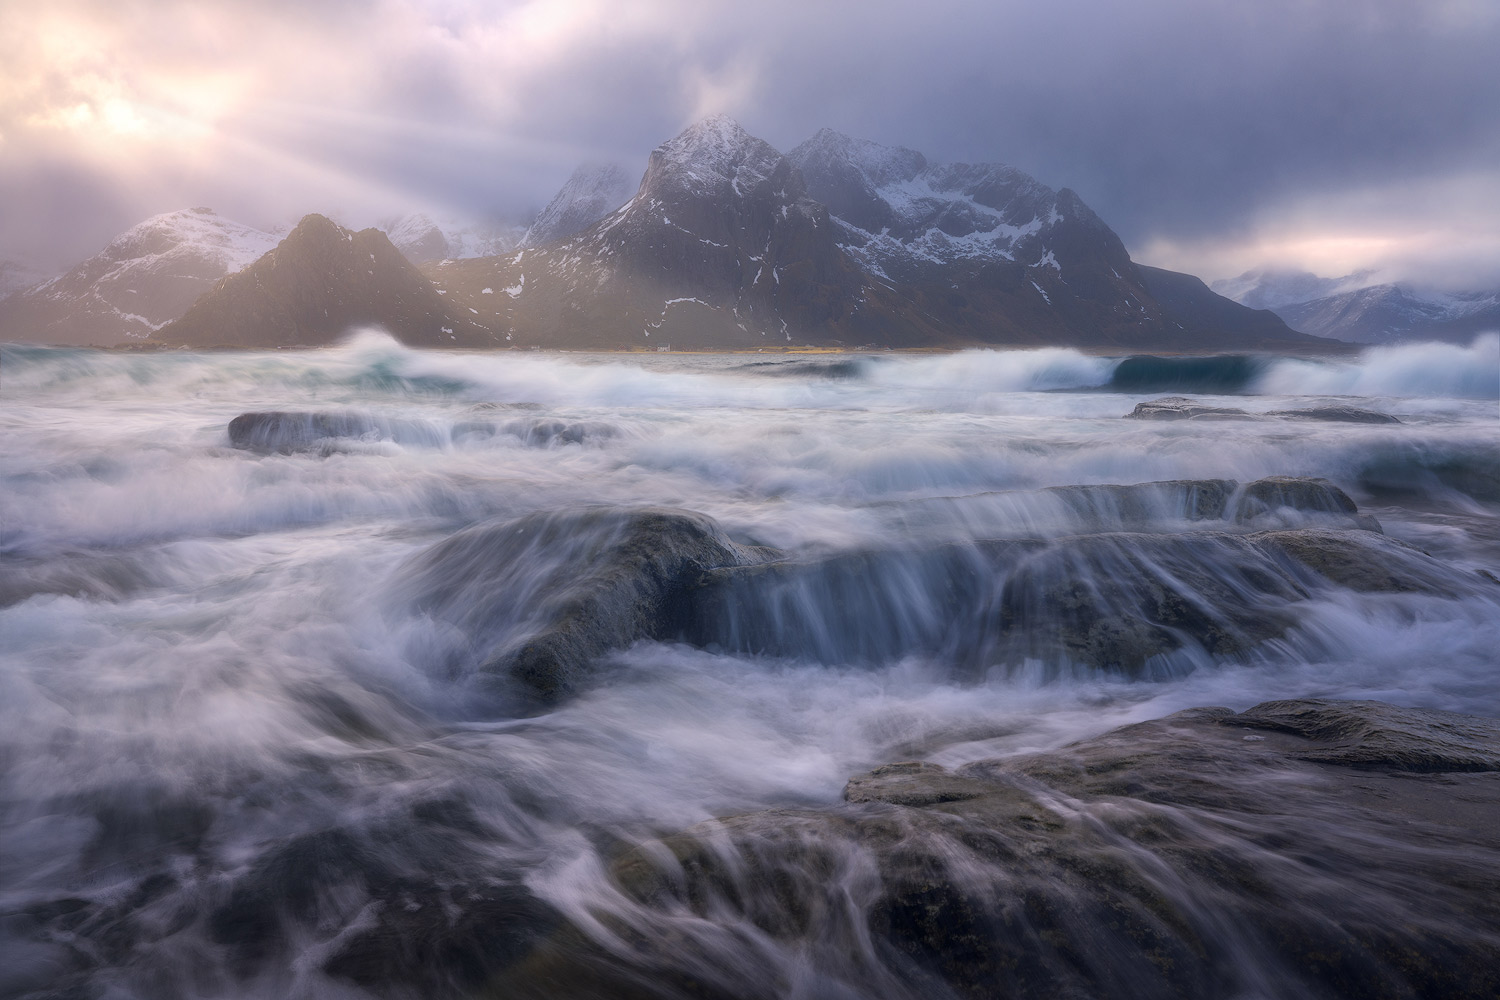
One of my favorite subjects to photograph as a landscape photographer is water in motion. I have the luxury to live a couple of hours from multiple gorgeous waterfalls. However, I am really far from the ocean which makes photographing seascapes a little more complicated. Since I have recently returned from my latest trip to Norway which was all about photographing beautiful dramatic fjords with awesome beaches and waves in motion, I started looking at my images and realized how many new seascape images I created. That is far from being a problem since I truly love seascapes.
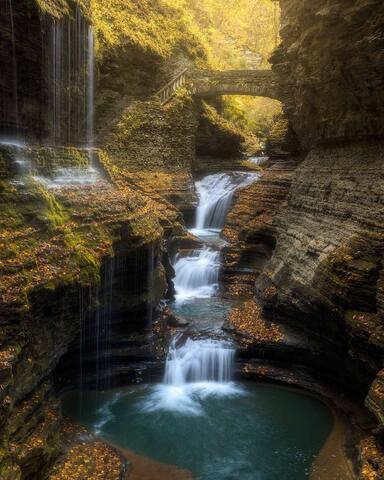
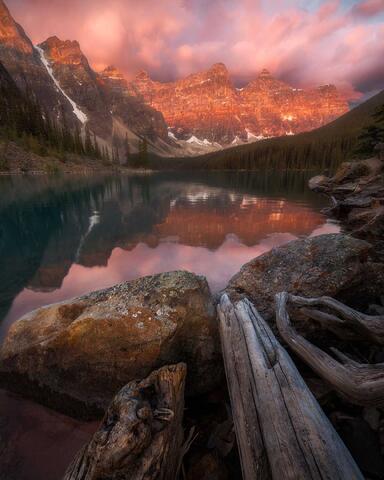
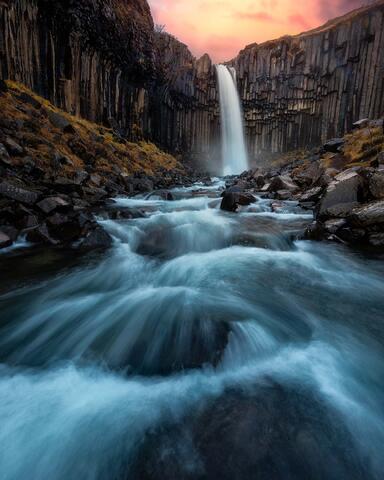
My favorite technique when it comes time to photograph waves in motion is definitely Time Blending. Now you might be asking yourself what exactly is Time Blending? I covered that topic in a previous blog article called What is Time Blending. To find out more about it in general I recommend you check it out…in this article, I will cover the seascape aspect.
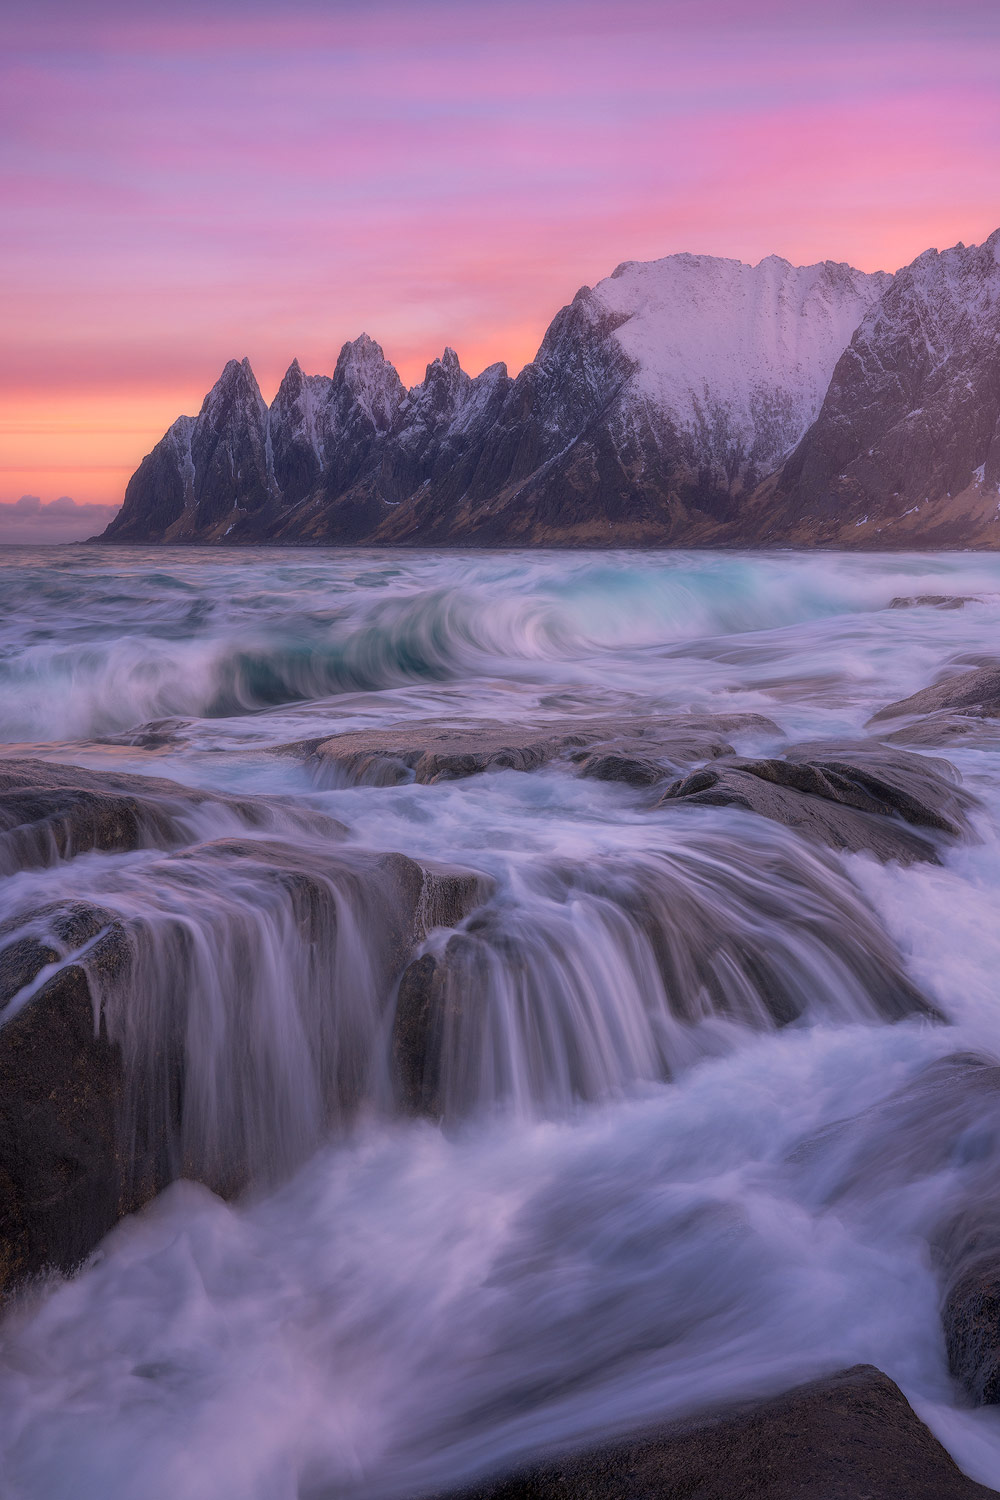
BE CAREFUL NEAR THE OCEAN!
Photographing near the ocean does represent some risks…I think the first and most important thing to talk about here is safety! Always be careful near the ocean! Never turn your back on the open sea! It can and will surprise you. Just in my latest trip to Norway, I had a couple of close calls which could potentially have been quite dangerous if I wasn’t paying attention.
First, when I find a spot where I want to capture some images, I will stand on a dry rock for at least 5 to 10 minutes and analyze what is happening. l will make sure that the rock I plan on standing on with my camera will stay « mostly" dry. If a rock is wet when you get there, think twice before considering using that one because it will get submerged at some point…and if you happen to be standing on it, you will get wet or worse, get hurt.
Also be aware of the tide…is the tide going up or down? A tide going down will often create smaller waves. If the tide is going up…you can certainly get surprised by some quite impressive sneaky waves. Ask me how I know! If an unexpected wave comes in, it could not only hurt you, it could as well damage your pricey equipment. Ok, the camera equipment can always be replaced…our life can’t be replaced. For that reason, I always feel more comfortable when the tide is going down. In any scenario, always use caution!
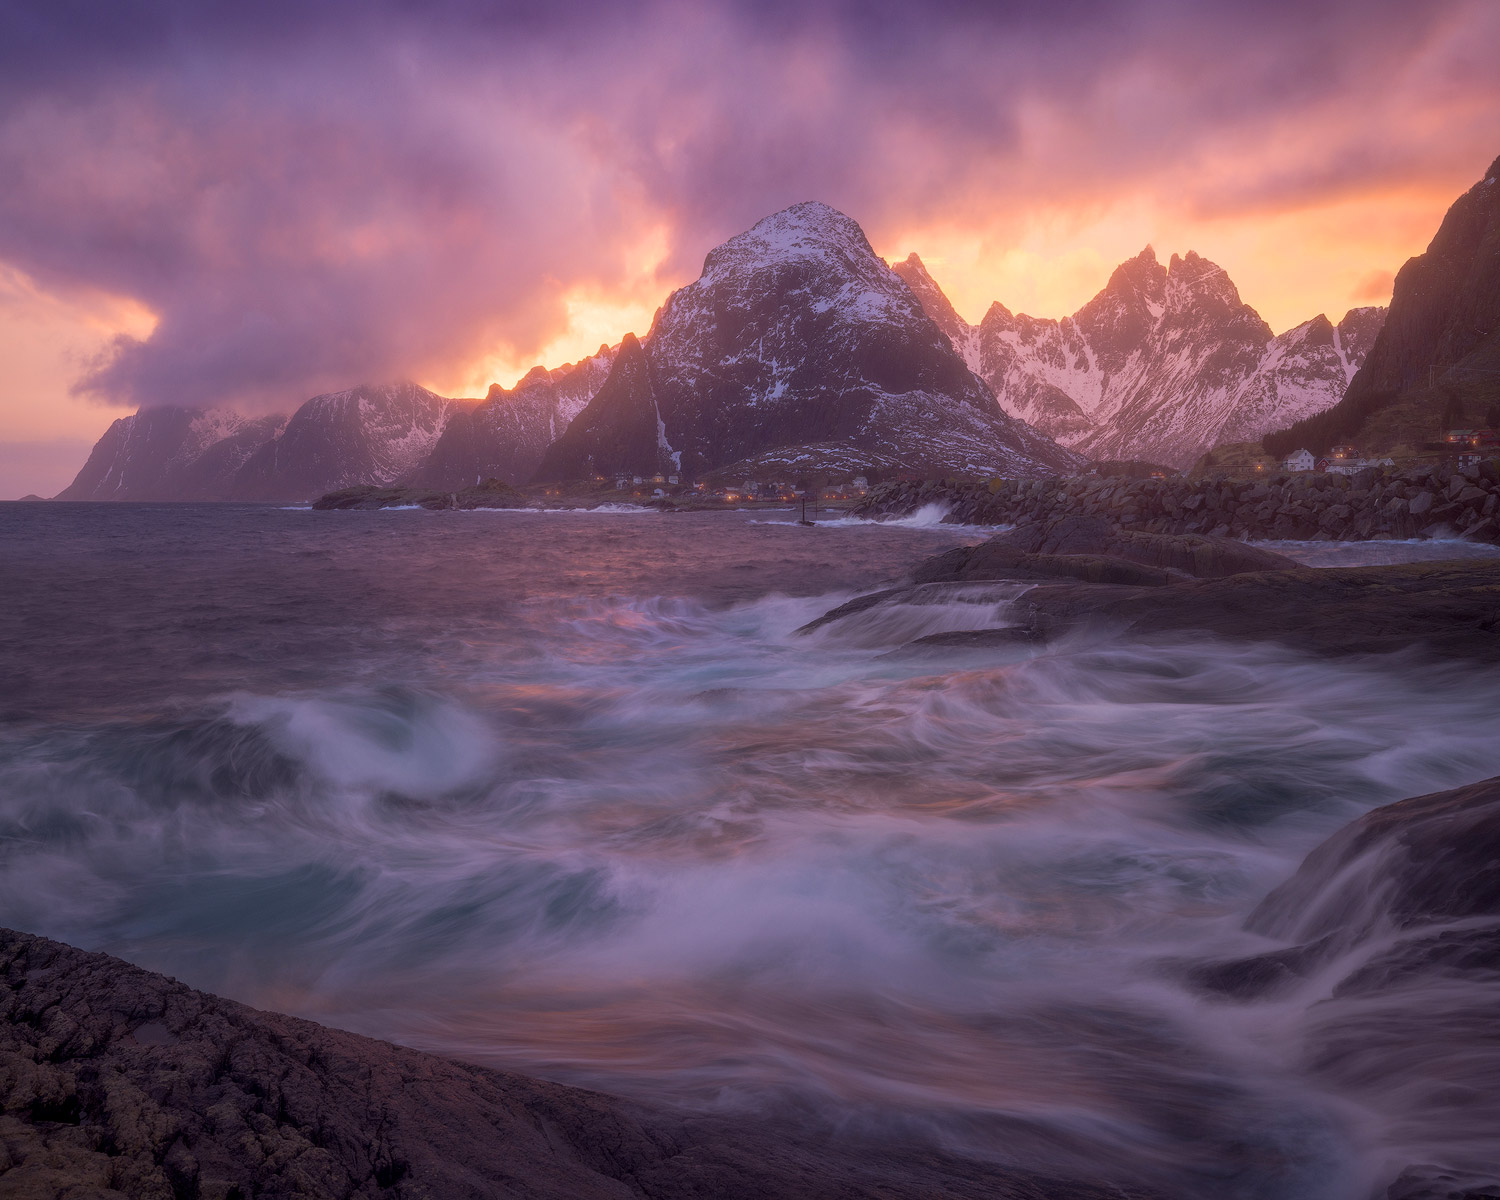
You may want to ask me why would I want to photograph seascape images in risky conditions like that? Seascapes, when done the right way with a proper foreground are so amazing. I love the motion of the incoming waves. I think that when captured with the right shutter speed, waves can create an unparalleled interest for any foreground!
HOW TO GET STARTED?
As I explained in my article What is Time Blending, the camera must be on a sturdy tripod. It must not move. If it does, blending the images might not be impossible but will definitely become exponentially more complicated. You have to make sure that the tripod moves as little as possible. Incoming waves hitting the tripod could mess things up a quite a bit. Another factor that might cause issues is that some rocks could potentially be covered with algae and could be slippery. Once again, if a tripod leg slides, the camera will also move. Make sure to setup the tripod in such a way that it won’t slide…and also be careful to not slip on algae.
When it comes to shutter speed, I always love to start things up with half a second. I will later fine-tune my shutter speed based on the amount of ambient light and on the desired water motion I want for each image. During day time, a Neutral Density filter will be required in order to cut some of the light and be able to use my recommended shutter speed of half a second. Keep in mind that near sunrise or sunset, the amount of ambient light will be low enough and the use of a neutral density filter probably won’t be necessary at all.
Once your camera is sturdily mounted on the tripod, capture a few images and find your preferred water motion. As mentioned earlier, I always start with half a second but depending how fast the water is flowing and how far I am standing from the actual body of water, fine-tuning of the shutter speed will be required. Sometimes I will use a shutter speed of 1/6 of a second and other times I will go all the way to a full second. There is no wrong answer here…only personal preferences!

IMPOSSIBLE TO GET IT ALL IN ONE IMAGE
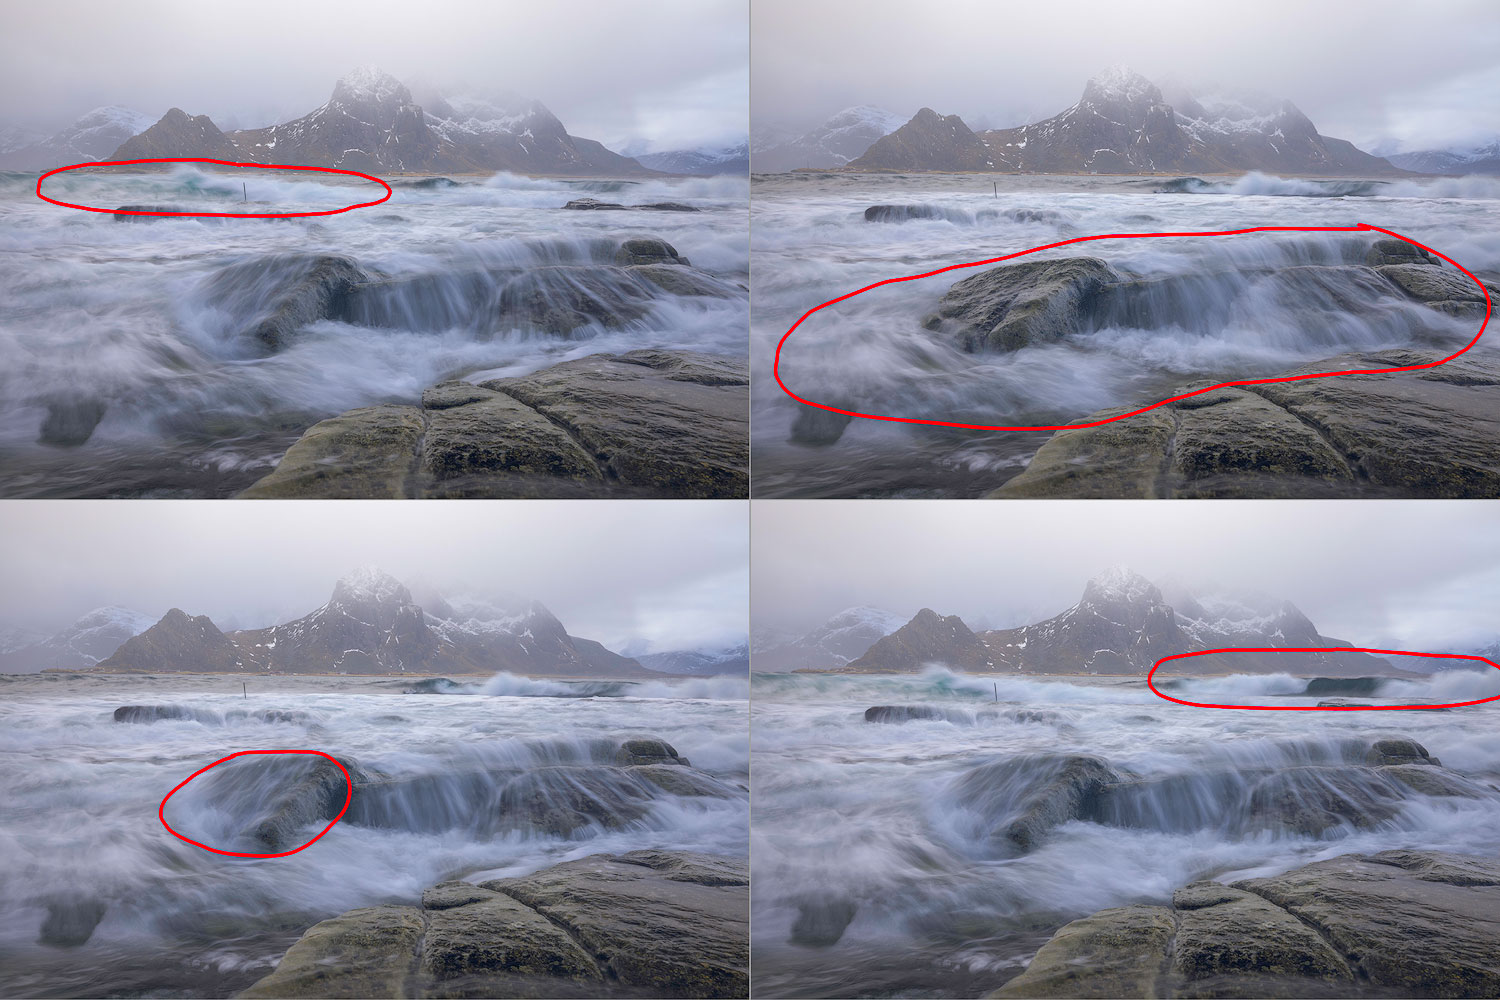
When capturing seascape images, it is basically impossible to get beautiful water everywhere in one image! On very rare occasions I was able to get beautiful water motion in every corner of the image but that probably was pure luck. In most situations, multiple images are required in order to get the perfect water motion everywhere. Water can be beautiful when it goes over one rock but ugly on another. Pay attention to what’s happening in front of your eyes and run the shutter each time you suspect the water flow is about to be pretty. This will always be a trial and error game…capture multiple exposures. One important thing to consider…when shooting in burst mode, there is no need to use a 15 or 20 images per second setting as this will only end up filling your memory cards much too fast. I always use a setting of 5 images per second which is plenty.
Now some purist photographers might say that this isn’t photography since it wasn’t captured in a single frame…that’s definitely a way to see things. It’s their opinion and even though I do not share it with them, I respect it. I see photography as art. I will use techniques such as Time Blending to optimize the visual impact of my images. It’s my art and I decide what I want to do! As long as my art is 100% of photography origin, I am good with that. If you are not comfortable with Time Blending because you want to take a more purist approach to photography, I am 100% ok with that.

HOW TO BLEND THE IMAGES TOGETHER.
Now that we’re done capturing all the images, I bet you’ll want to know how to blend them together? It is in fact very simple but you will need to use Photoshop or Photoshop Element to do the blending part. The technique itself is fairly easy and will require some very basic knowledge of Photoshop to be successful.
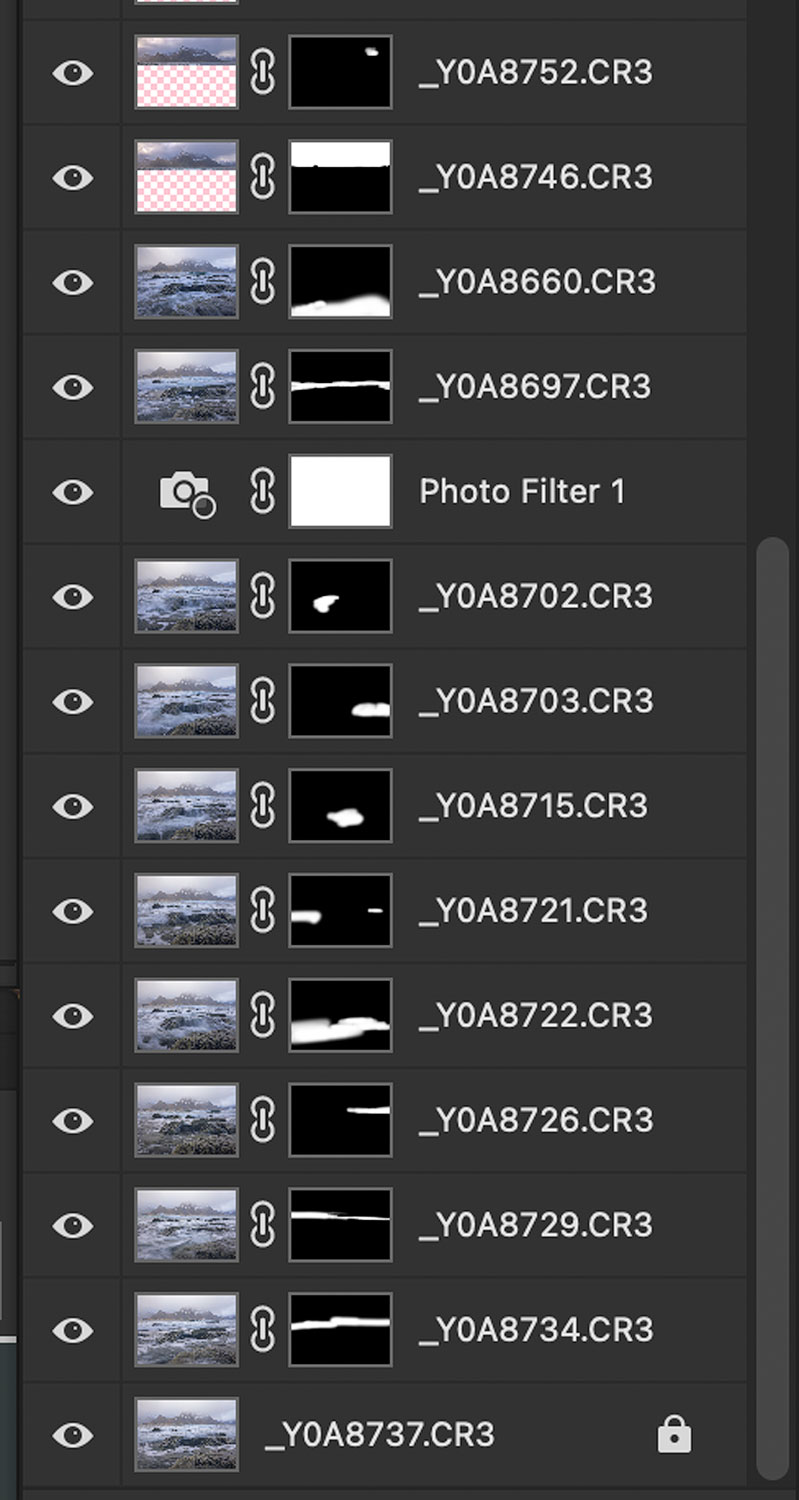
The first step will be to do all the RAW file adjustments in your preferred RAW editing software. I personally use Lightroom as it is an extremely convenient software overall for what I do. Once done with the RAW file adjustments, you will want to open all files as layers in Photoshop. That way, Photoshop will stack each one on top of the other. After that, it can always be a good idea to make sure every layer is well aligned together. If a bigger wave hits your tripod, it might have moved a bit… Select all layers then got to the top left menu, EDIT / AUTO ALIGN and allow Photoshop to do the work for you.
After that, you will need apply a black mask on each layer except for the bottom one which will be your Background layer. And then you look for which part of which layer is of interest for your final image and you will unveil these parts with a white brush. You can go back and forth between each layer in order to create the best possible visual impact. It will require a bit of time to get it perfect but trust me, the juice will be worth the squeeze!
…IN CONCLUSION
In conclusion, Time Blending is a really fun way to improve any landscape photographer’s work. As far as I am concerned, it allows one to be much more creative and a have far superior visual impact for landscape images. It will require a bit of time to visualize the final result as you are capturing images…but with practice comes experience! And with experience will come perfection!
Also, think of all the other scenarios and situations where Time Blending could be useful;
-you could use it to fill empty holes in the sky as the clouds are moving,
-you could use it to multiply wildlife as they are walking into your composition,
-you could use it to add or remove cars as they are driving in or out,
…just to name a few.
The power of Time Blending will definitely unleash your creativity! Give it a try and let me know how you like it!