Anatomy of a Waterfall
It deserves to be said: Waterfalls are among the best subjects in the landscape photographer community around the world. Who doesn’t love a waterfall? And why does everyone actually love waterfalls? For me, it’s quite simple: standing near a waterfall is the place where I feel the most zen. Especially if the waterfall also happens to be in a forest. I think forests and waterfalls complement each other nicely. As far as I am concerned, a scene which consists of flowing water cascading over rocks bringing your eyes up to a lovely waterfall with gorgeous trees framing the top of the frame will always be an automatic winner. Don’t get me wrong…Icelandic waterfalls are cool too…
Every time I point my camera at a waterfall, I often ask myself what kind of waterfall could that one be? Is there such a thing as a naming system for waterfalls? I love to be well informed about what I am photographing…that’s my nerdy side I guess. Believe it or not, after doing an interesting Google search, I found some really interesting information about waterfall types. In this article, I will also share a few « behind the scenes » tips about how I photographed them and why I like each one differently.

-
THE CASCADE WATERFALL
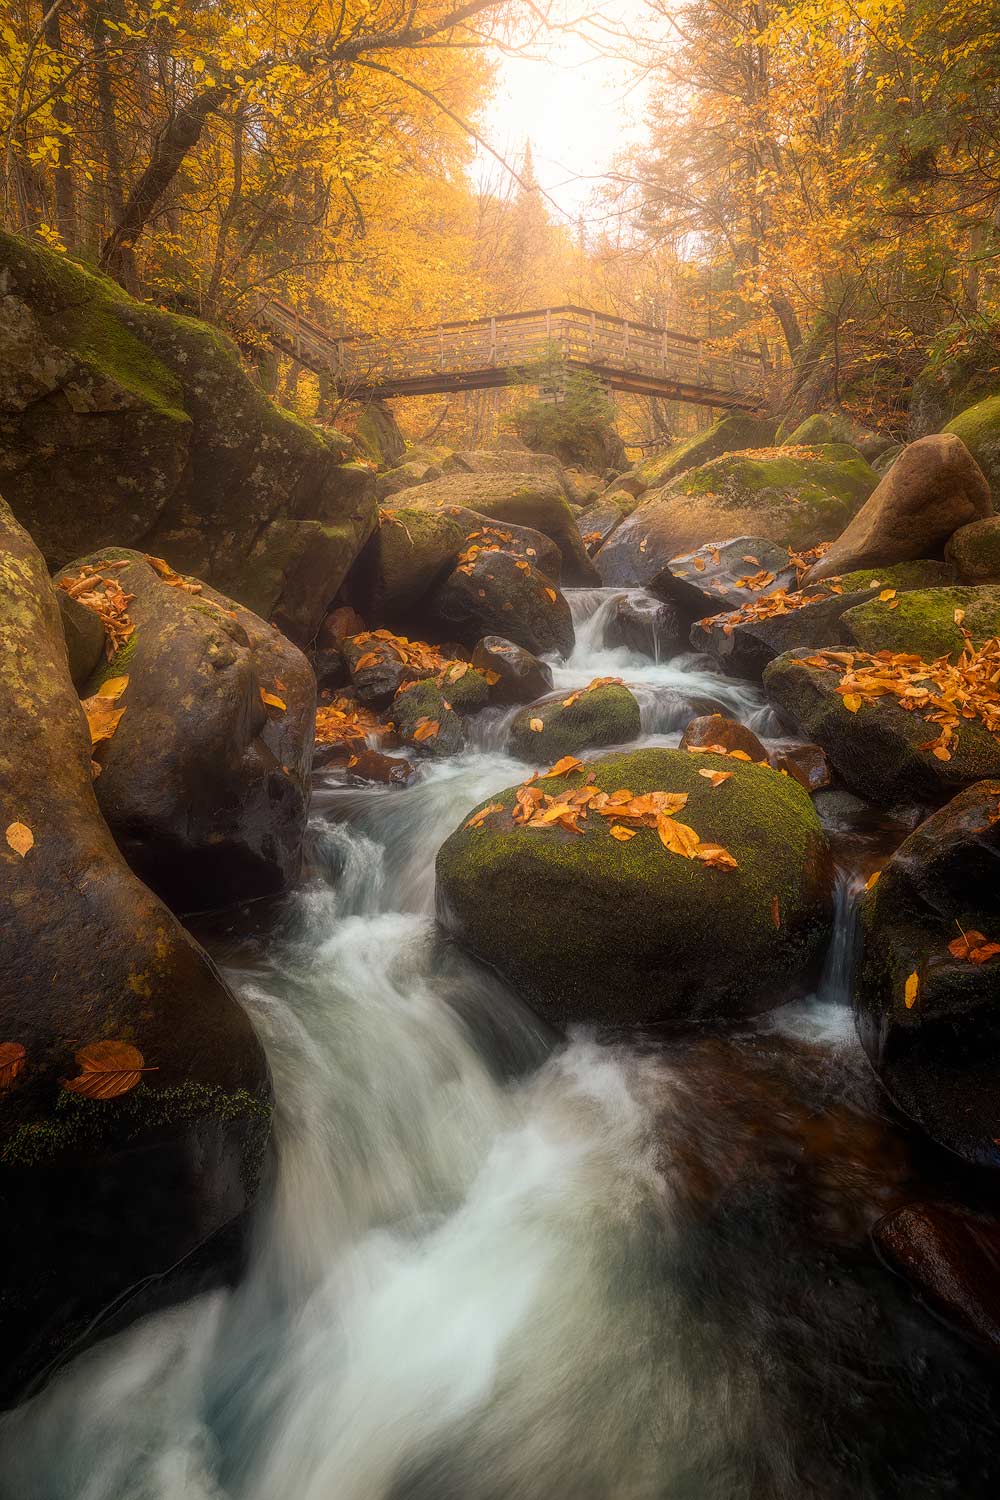
The Cascades are often made of a series of small waterfalls cascading over boulders. Even though these might be far from being the most impressive of the waterfalls, I truly love them because when well composed, they often create some really strong leads into the composition.
These kinds of waterfalls can often be very flat…for that reason, I will make sure not to setup my camera too close to the ground or water level. It’s best to point it down towards the cascades to give them a sense of grandeur without making them look too flat.
-
THE FAN WATERFALL

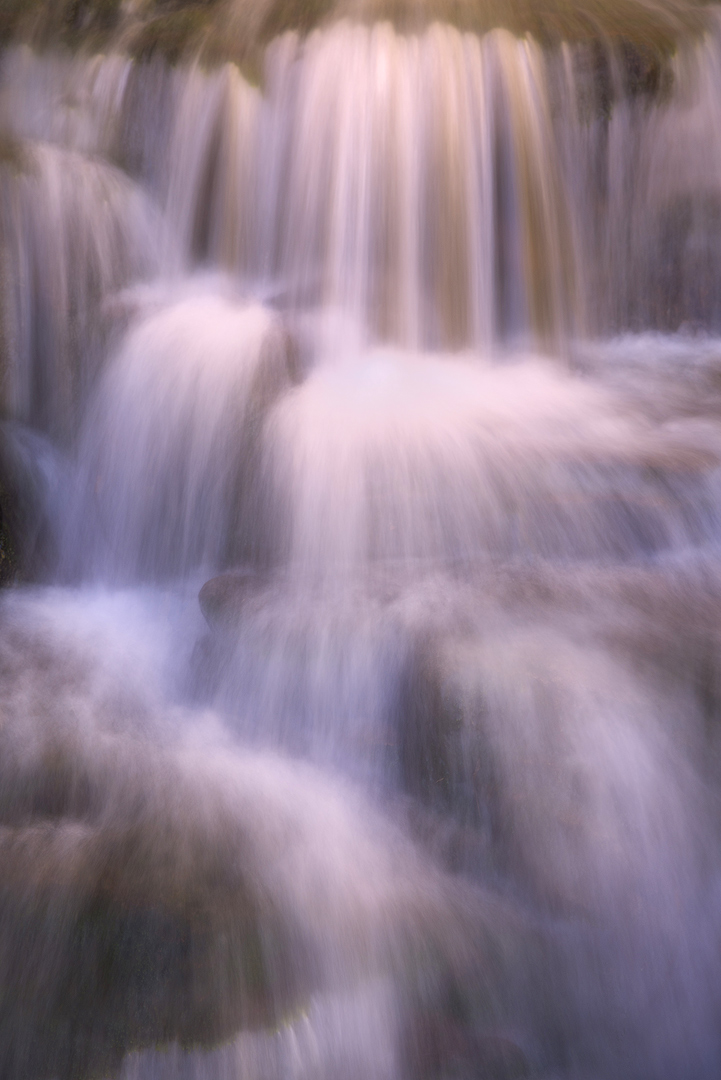
The Fan Waterfalls are probably my favorite of all. They are called Fan Waterfalls because they often have the fan of a fan which makes sense. What I like most about them is they always create a great impact as a main subject in landscape images. They are often constructed from a series of vertical drops and for the most part will keep contact with the cliff walls. Since most of the drops are forming narrow little waterfalls, choosing the right shutter speed is often of great importance. I like to start with an exposure time of 1/4 of a second and then I will fine tune from there until I reach the desired result. I did cover the topic of shutter speed in my article THE POWER OF LONG EXPOSURE. You can see what difference different shutter speeds could potentially make in landscape images here.
One thing to always keep in mind with Fan Waterfalls, do not omit the use of a very long lens like a 70-200mm or a 100-400mm to zoom in substantially and isolate specific parts of the waterfall and create dreamy abstract images. Then again, a shutter speed of 1/4 to 1/2 second will be a good starting point.
-
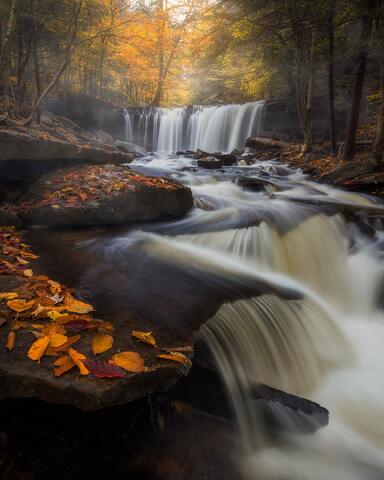
THE TIERED WATERFALL
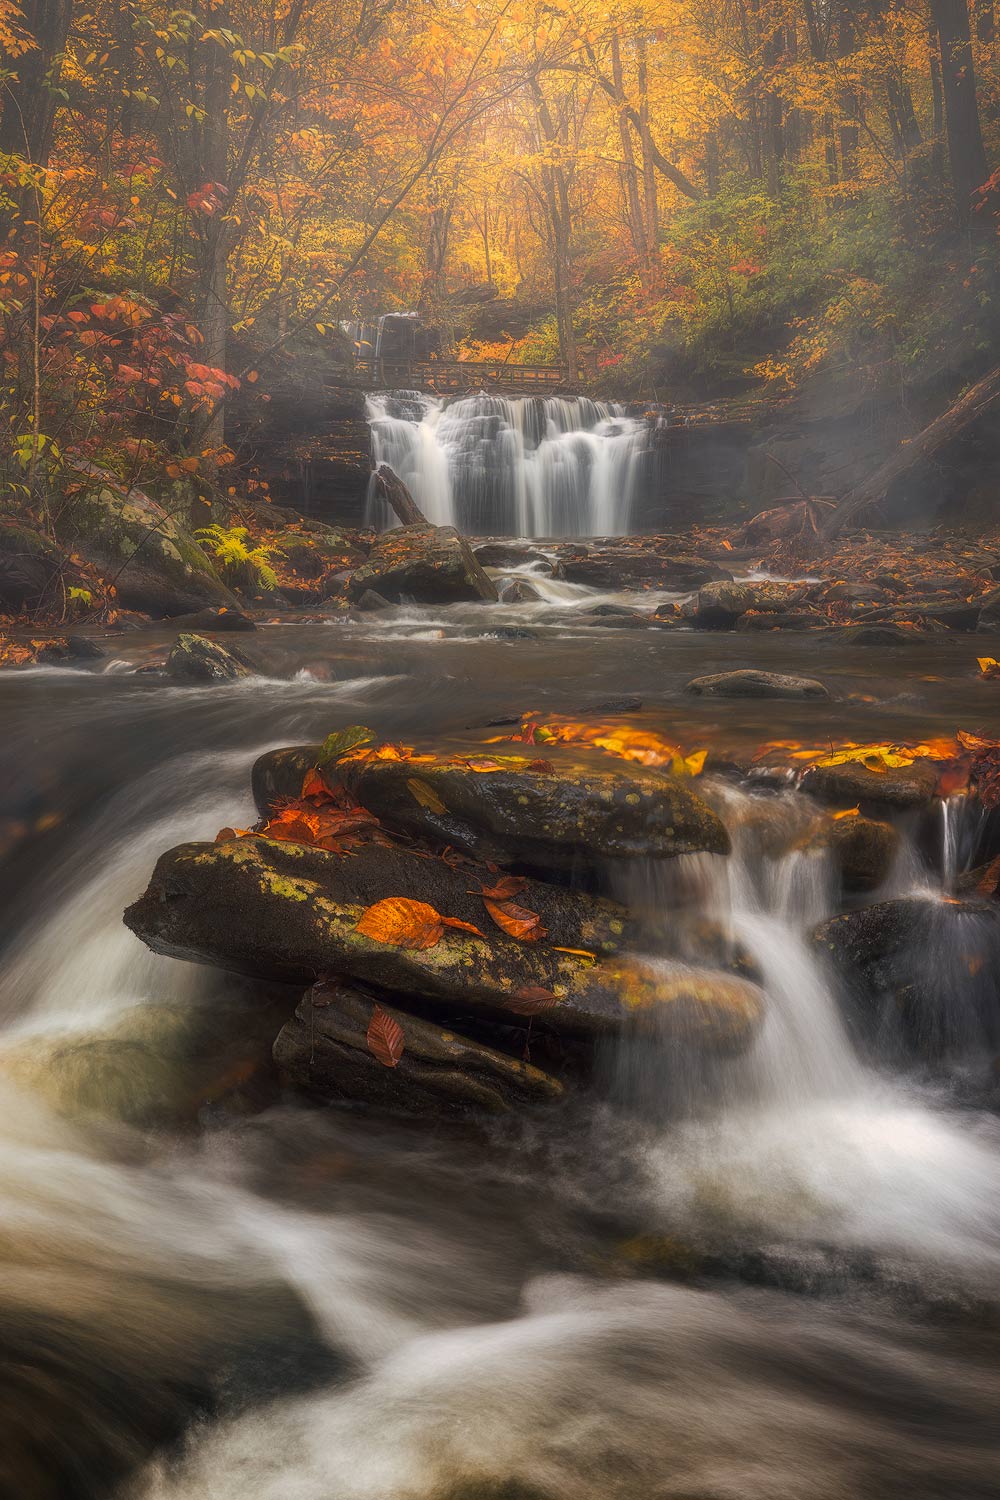
The Tiered Falls are constituted of a series of consecutive waterfalls one after another. These waterfalls don’t always need to be of the same type or height. What I love about these is the impression of depth they add to a landscape image. The layering effect can often be mind boggling with these types of waterfalls. And photography being a two dimensional medium, having a multi layer subject like a Tiered Waterfall in a composition will only accentuate the visual impact.
When photographing these types of waterfalls, I tend to prefer to stand really close to a foreground element like a small water cascade, use a wider focal length and make the foreground fall look similarly big to the one in the background. Doing so will require me to focus stack since getting every detail into focus in a single image will be nearly impossible even when using techniques such as Hyper Focal focusing distance. Read more about THE ART OF FOCUS STACKING here.
-
THE PLUNGE WATERFALL
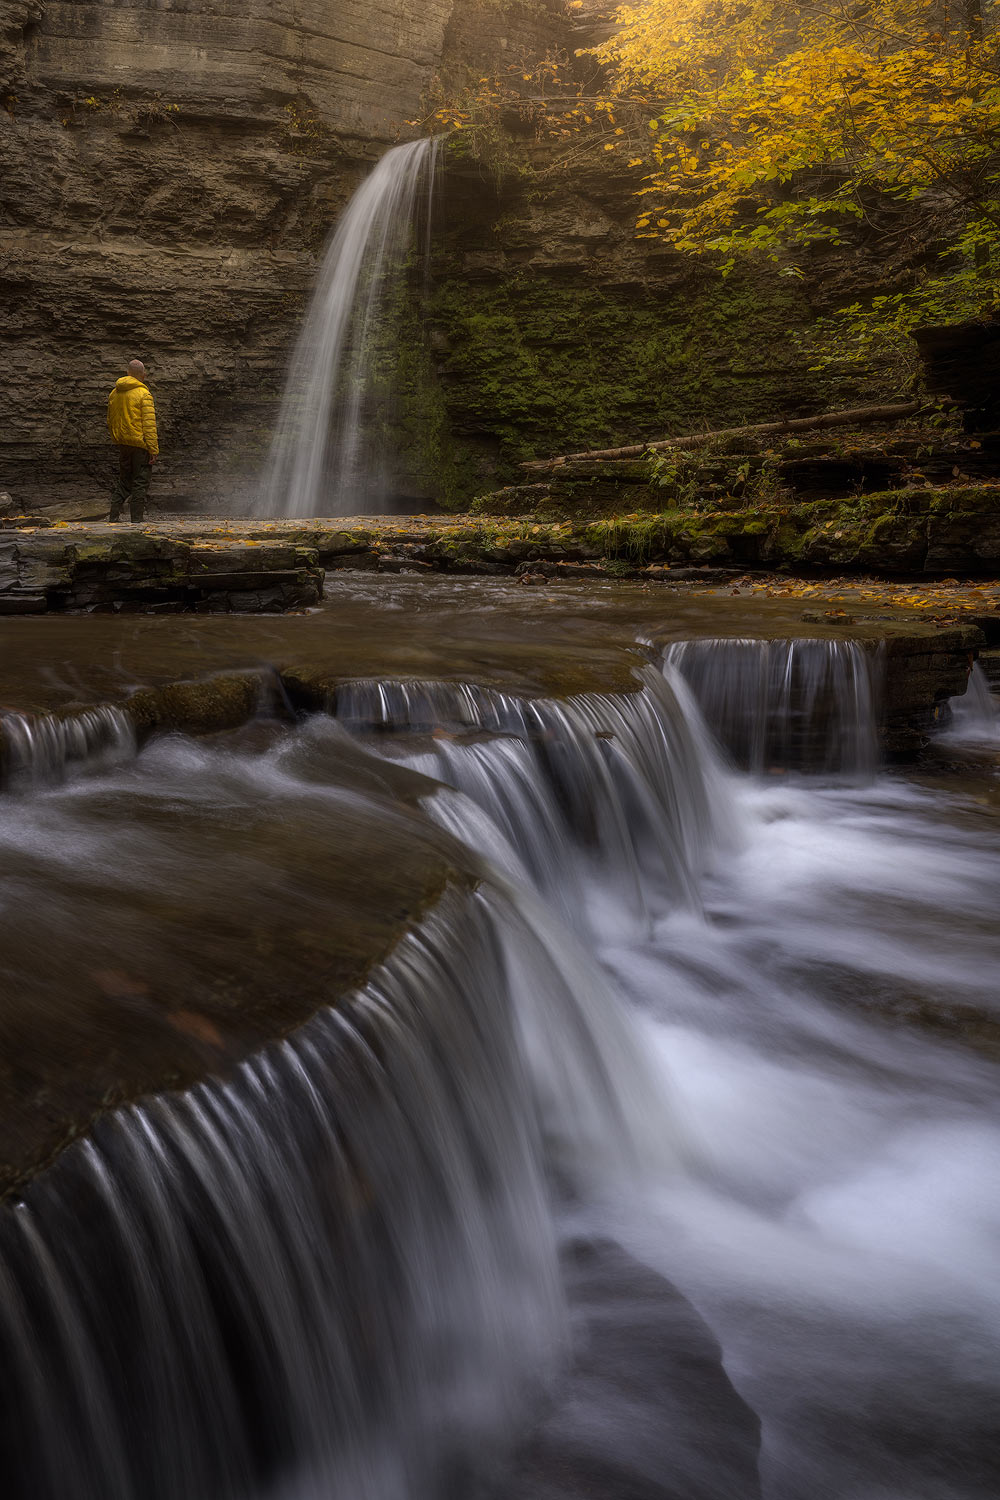
The Plunge Waterfall will most of the time be a big narrow drop that won’t keep contact with the cliff wall. Typically, plunge waterfalls also generate enough spray to erode the underside of the cliff even further thereby causing caves beneath the lip of the waterfall. When we talk about water spray, we also talk about the camera gear getting soaking wet if you stand too close to the waterfall. Consider using a rain cover for the camera?
On a composition point of view, these waterfalls are often very narrow and won’t fill much of the background in the composition. I highly recommend photographing in portrait orientation in order to minimize the amount of empty space on each side of the frame. Or, why not use a model in the composition to give the waterfalls a sense of scale? Show the world how big your main subject was!
-
THE HORSETAIL WATERFALL
As opposed to what its name says, the Horsetail Waterfall doesn’t always look like a horsetail. The Plunge Waterfall will often look more like a clean horsetail. But unlike the The Plunge Waterfalls, the Horsetail Waterfalls will keep contact with the cliff wall. These kind of waterfalls will present more or less the same pros and cons of the Plunge Waterfalls…
-
THE SEGMENTED WATERFALL
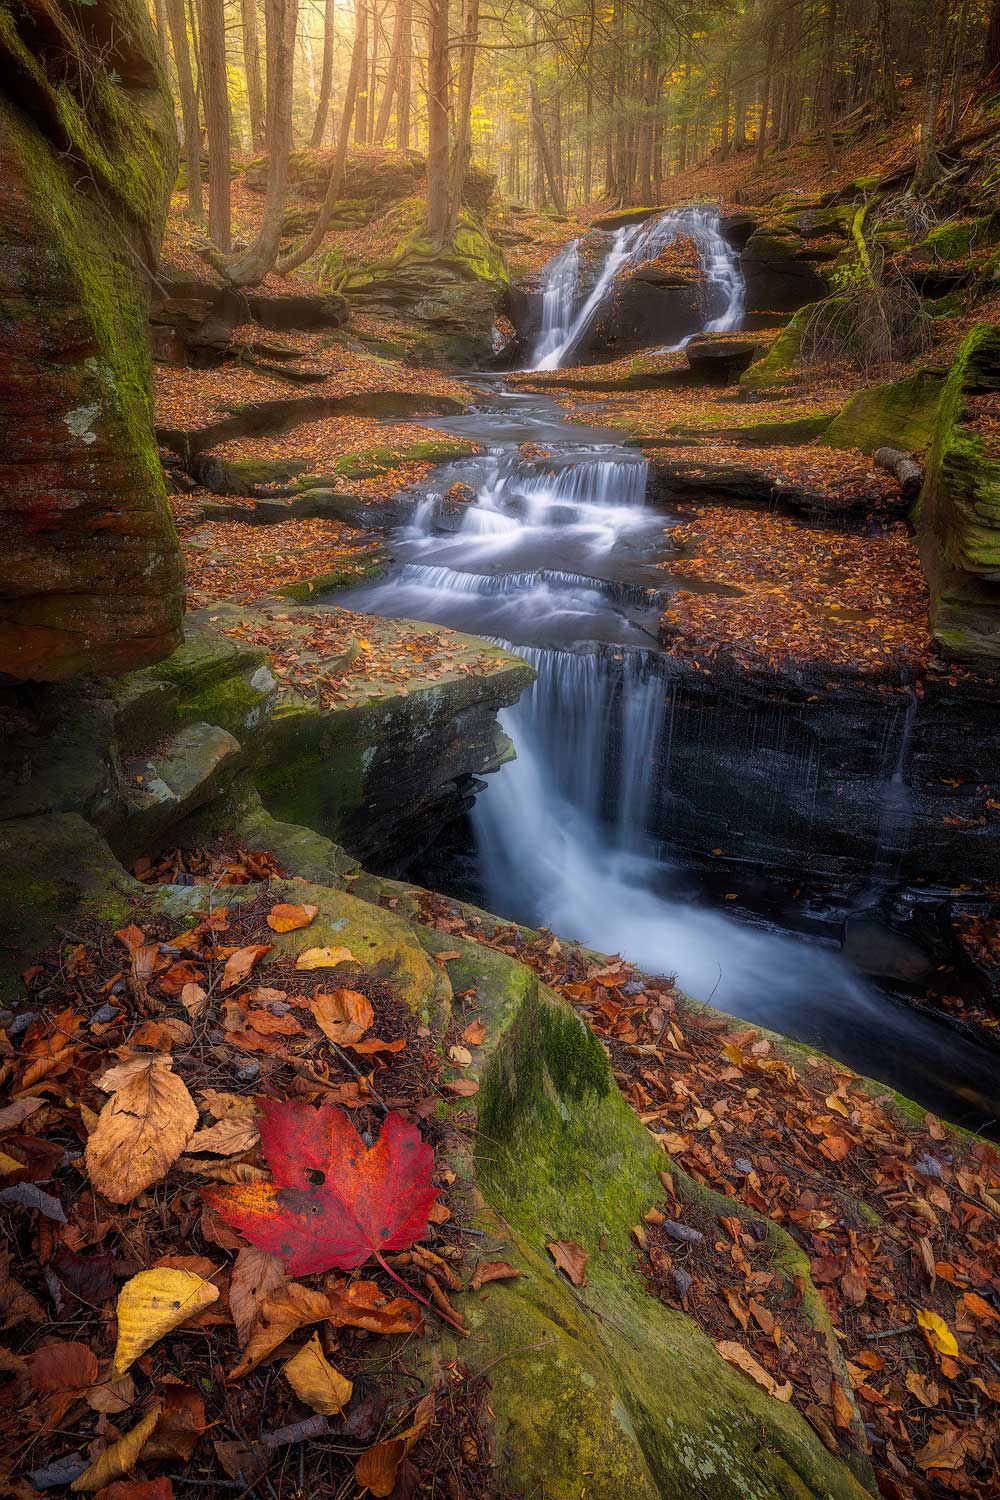
The Segmented Waterfalls involves a water flow that will split into two sections which will cause two separate vertically parallel falls. The Segmentation could be caused by rock stacks or islands at the edges where the water drops off the cliffs. That waterfall type could also be very dependent to water flow conditions in a sense that it would be a proper segmented waterfall right after rain but a single waterfall after multiple consecutive days without rain. In other words, it could be weather dependent.
What I love about them is they often create more visual impact after a good rain which would automatically create a wider main subject in a composition. But this could also lead to a main subject deviating eyes in two separate directions when flowing at their max level.
-
THE STEPS WATERFALL
The Step Waterfall also often called the multi step is basically a type that goes down a series of distinct drops. Each drop is roughly similar in height as the previous one. If you have never been to Watkins Glen State Park in New York State during the fall season, I’d highly recommend you go! In fact, a trip to Ithaca should be on everybody’s wish list. First of all, Ithaca is a lovely city with many great food options, it is surrounded by tons of great hiking locations filled with gorgeous waterfalls. Highly recommended location that will blow your mind…and it’s also quite affordable!
-
THE VEIL WATERFALL

The Veil Waterfall is an unofficial waterfall type name that I love to use. This waterfall will normally be dry during peak summer season because of the lack of precipitation. Most of the time it will be the result of overflowing water spontaneously coming down from random cliffs. I truly love the delicateness they add to any waterfall scene. They look very light and « see-through » just like a bride’s veil.
-
THE BLOCK WATERFALL

When we talk about a Block Waterfall, we are often referring to the most typical classic type of waterfalls everyone imagines when talking about waterfalls: a rectangular looking waterfall. These are often wider than they are high. It often descends a vertical wall and won’t keep contact with it. I don’t necessarily enjoy these and that especially if they are too wide. I often prefer to photograph landscape images in vertical orientation and if the falls are too wide they will need to be cut to fit because they won’t always fit in the frame.
-
THE PUNCHBOWL WATERFALL

The Punchbowl Waterfall is a setup in which water falls from a constricted area and drops into a wider pool. These types of waterfalls often have a significant flow since there is a restrictive element at the top of the fall. In many situations, you won’t be able to get anywhere near the base of these waterfalls because of said wide pool which means that standing at a certain distance from the waterfall will make it look quite small in the composition. And since I love to photograph with an ultra-wide angle lens, this makes things even worse. What I tend to do in these situations is Focal Length Blending or Perspective Blending which consists of capturing the foreground and the background at slightly different focal lengths and merge them together into Photoshop using simple layers and masks. I have previously talked about Perspective Blending in another Blog Article…if you’d like to know more about how it’s done, please have a look at my article HOW TO PLAY WITH PERSPECTIVE.
…IN CONCLUSION
In conclusion, waterfalls are awesome! I had great fun exploring new ones just a few weeks ago. I returned to some of the places in Pennsylvania I visited two years ago as well as a bunch of new amazing and more difficult places to access. Visiting waterfalls during the summer season can be challenging for multiple reasons…the heat can make hiking uncomfortable, the lack of precipitation can literally shut down the waterfalls and the fact that all the vegetation is green kills all natural contrast…in the fall season, every one of these possible problems is solved! The temperature was so nice for hiking, I had a great amount of rain so the falls were very active and the colors here in the North East never disappoint!
Oh…and I must not forget to mention that soon will be time to photograph frozen waterfalls…please do not ignore the potential beauty of these! Happy season transition period everyone!

What should I talk about in my next Blog Article? Send me requests…I will create content that will please you all!