My Worst Nightmare: Lens Fog
Try to imagine; The perfect scenario in which you are heading for a lovely sunrise photoshoot on a chilly winter morning and the weather is simply perfect. You have a wonderful -10 Celsius with no wind at all…the cloud coverage is beautifully textured and hints of a beautiful sunrise with a clear window where the sun will peak out. You find that perfect composition you had dreamed of in that location for years…and an added bonus, the light will be beautiful! What could go wrong? Then all of a sudden, the center of the front element of your lens decides to sabotage your sunrise excitement by starting to fog up inside. You now have to deal with lens condensation…the center of your image is fogged!
What shall you do then? Oh wait, you have another lens which shouldn’t form condensation so you swap it…only to find out that it’s not wide enough. What’s left? Leaving? Definitely not me! I will keep shooting with that fogged lens! How? There are obviously many ways to prevent lens condensation as I have mentioned in a previous Blog Article RIGHT HERE or HERE. But what if you are in the field and are experiencing some lens condensation problems? What should you do? Continue reading to find out how I managed to save the morning on a couple of occasions even though I had issues with lens condensation, aka lens fog

WHAT CAUSES IT?
First of all, there are a few factors that can cause lens condensation. Dew can cause lens condensation when you keep shooting after sunset and the temperature drops…dew will eventually form on the lens especially if it is pointing towards the sky. But that’s not the kind of condensation I am talking about here. Imagine taking a cold beer out of your refrigerator and leaving it on the counter for a while…condensation will form on the bottle. The temperature differential between the cold bottle and the ambient room temperature will make it so that the humidity will cause the condensation.
With landscape photography, we often have to deal with crazy temperature differentials. Our hotel room temperature will often be warm and cozy and when we bring our camera equipment outside, there will be a pretty substantial temperature differential. This is when things can take a bad turn. I am always trying my best to avoid opening my camera bag while I am in my hotel room. I simply leave it on the floor near a window where normally the temperature should be cooler and I let it reach the ambient temperature as slowly as possible. When I leave the next morning, I will drive to a sunrise location with minimal heat inside the car to allow my camera equipment to reach the outside temperature as slowly as possible in hope of avoiding lens fog.
MY LENS IS FOGGED, WHAT SHOULD IT DO?
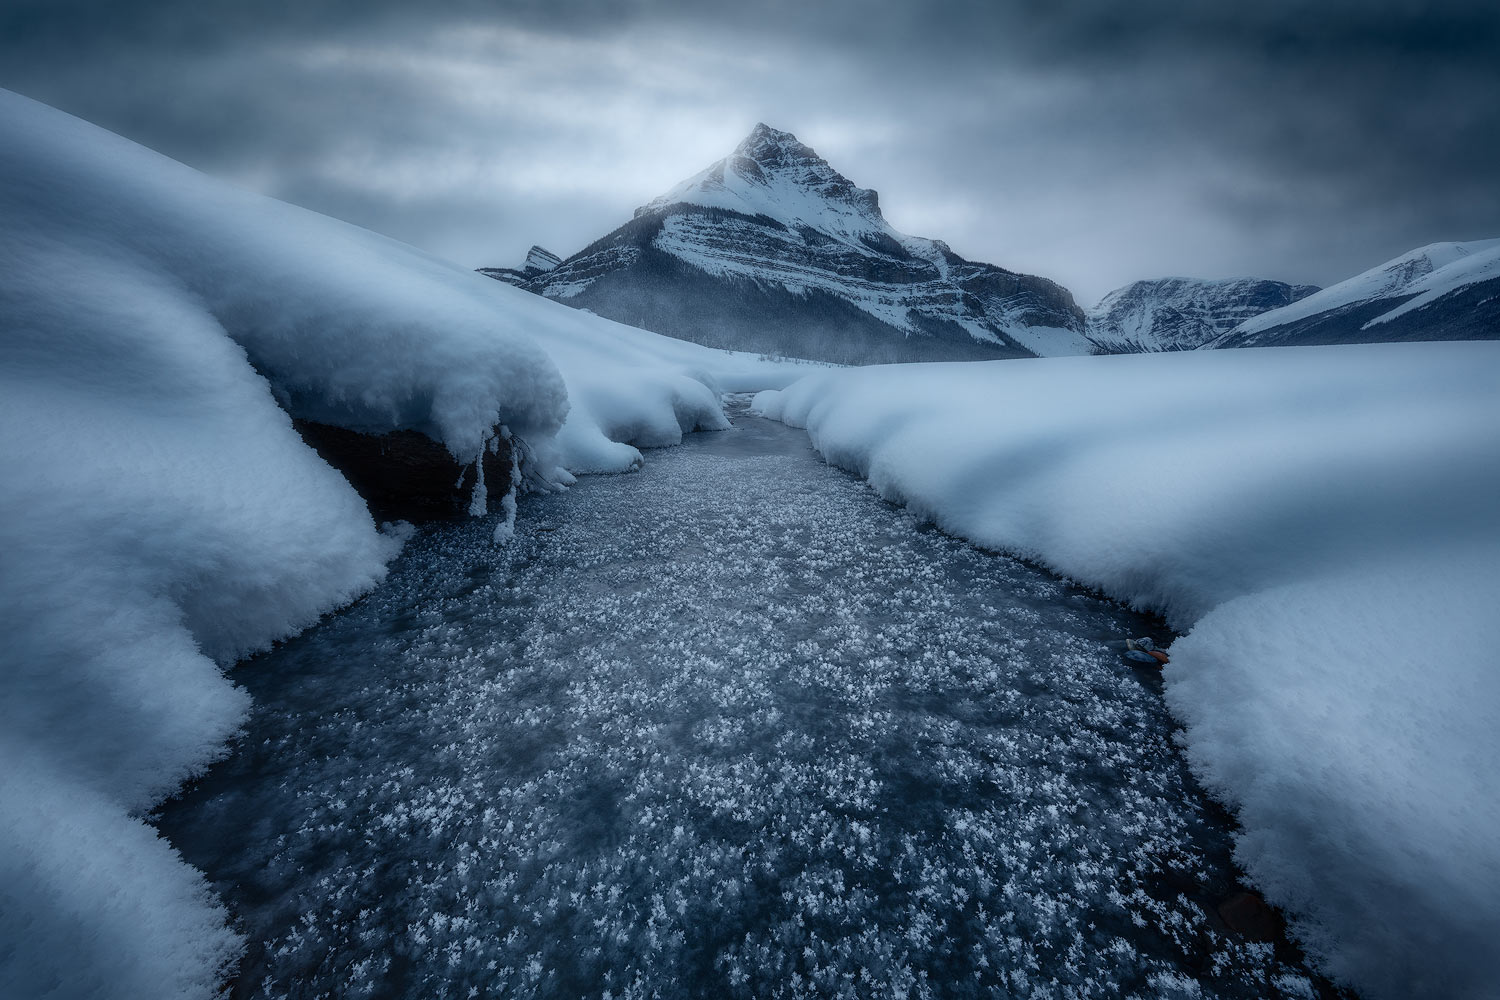
Despite taking extreme caution when it comes to camera equipment, I was still unlucky and had lens condensation issues. In fact, one of my lenses had that issue and it also happened to be the lens I used the most: my Canon EF11-24mm f4.0. It has a very bulbous front element and I suspect that this type of lens could potentially be more prone to these kinds of problems.
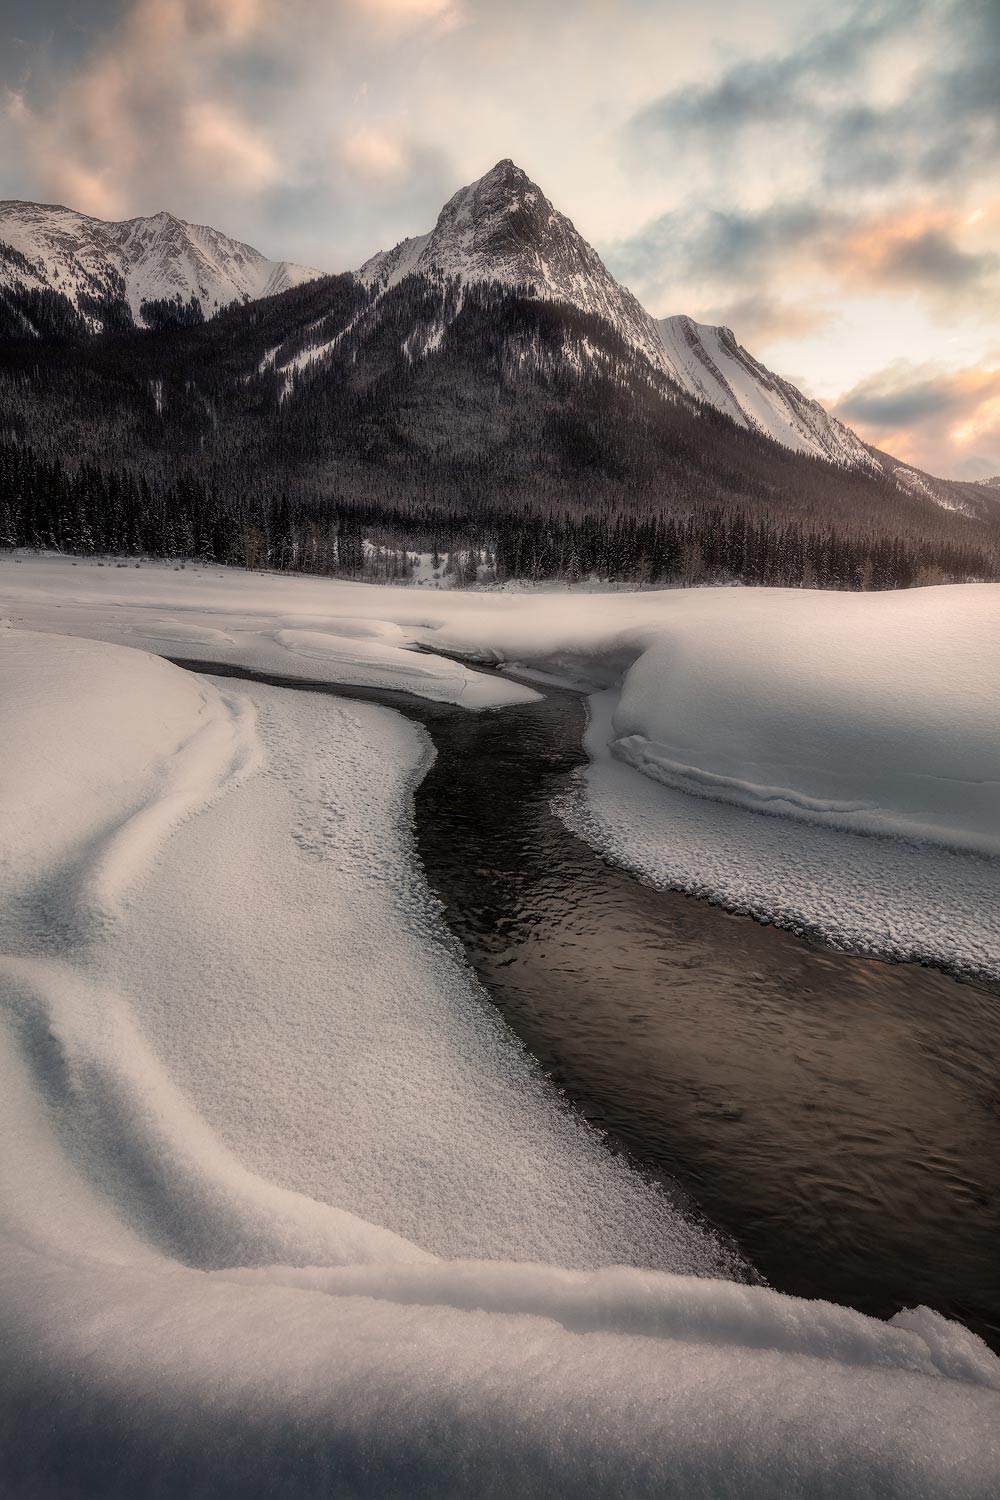
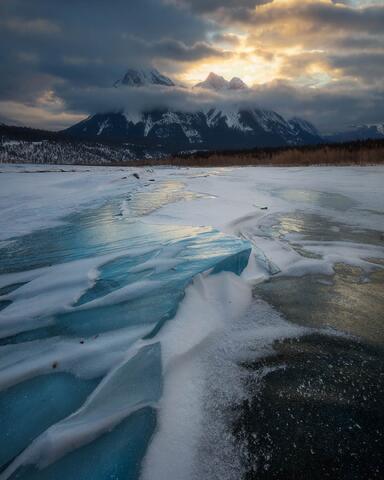
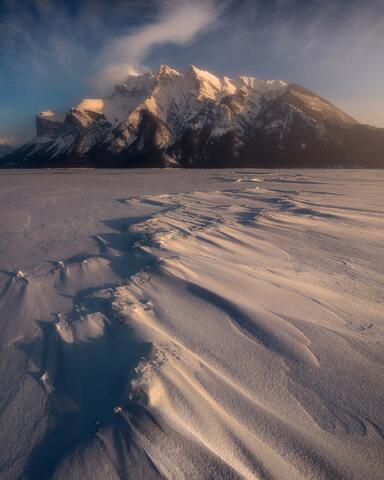
But on that cold winter morning in the Canadian Rockies, I had to come up with a solution. As the sun was slowly rising and I was capturing the improving light, my lens started fogging. I tried another lens but it wasn’t wide enough…so I came up with something that I wasn’t sure would work in the first place…I do have some pretty good Photoshop skills so I was hopeful it would work. I gave this a try:
THE TECHNIQUE
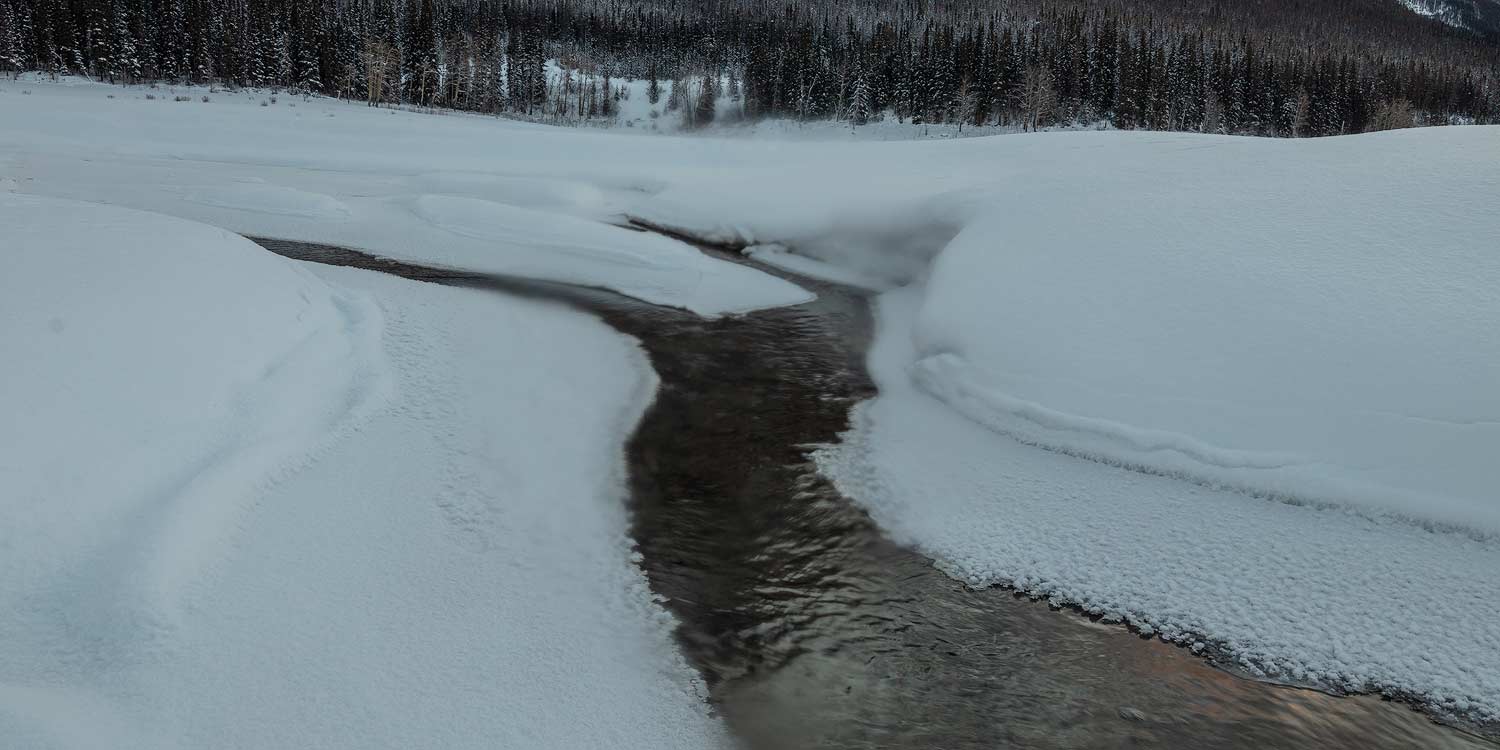
As most of you know, I do a lot of Focus Stacking. I also have an article about Focus Stacking, CLICK HERE to read the article in question. This is what I did: once I was done capturing all the required images for my Focus Stack of one specific scene, I rotated the camera just a little bit but enough so that the fogged area of the lens would now be in an un-fogged part of the lens. This sounds complicated…let me explain in more detail here. I did the same for both sides rotating the camera left and right to make sure I had all the details free of lens fog but in a different part of the frame. The fog issue being in the center of the lens, if we move the details that are fogged to another part the frame, there shouldn’t be any more fog! Right? It’s a bit more work but at least, I could continue photographing and enjoying my time in the Canadian Rockies! Maybe the images below will make this all a bit clearer…

AND WHAT’S NEXT?
Of course the next step will require a bit of Photoshop. I will guide you through each of my steps and I pretty much guarantee that you should be able to recover those lost details!
First Step: You’ll need to make sure you do all your RAW file work in Lightroom or other RAW treatment software you use. Then make sure you sync those adjustments to all your files.
Second Step: Once all the RAW files are synched, you will Open the images from your initial composition as Layers in Photoshop. You will then assemble the images and Focus Stack the layers to create one sharp canvas with perfectly sharp details. After that is done, you can flatten the canvas. If you want to learn how I Focus Stack my images, I wrote a Blog Article dedicated to this topic, CLICK HERE to read it.
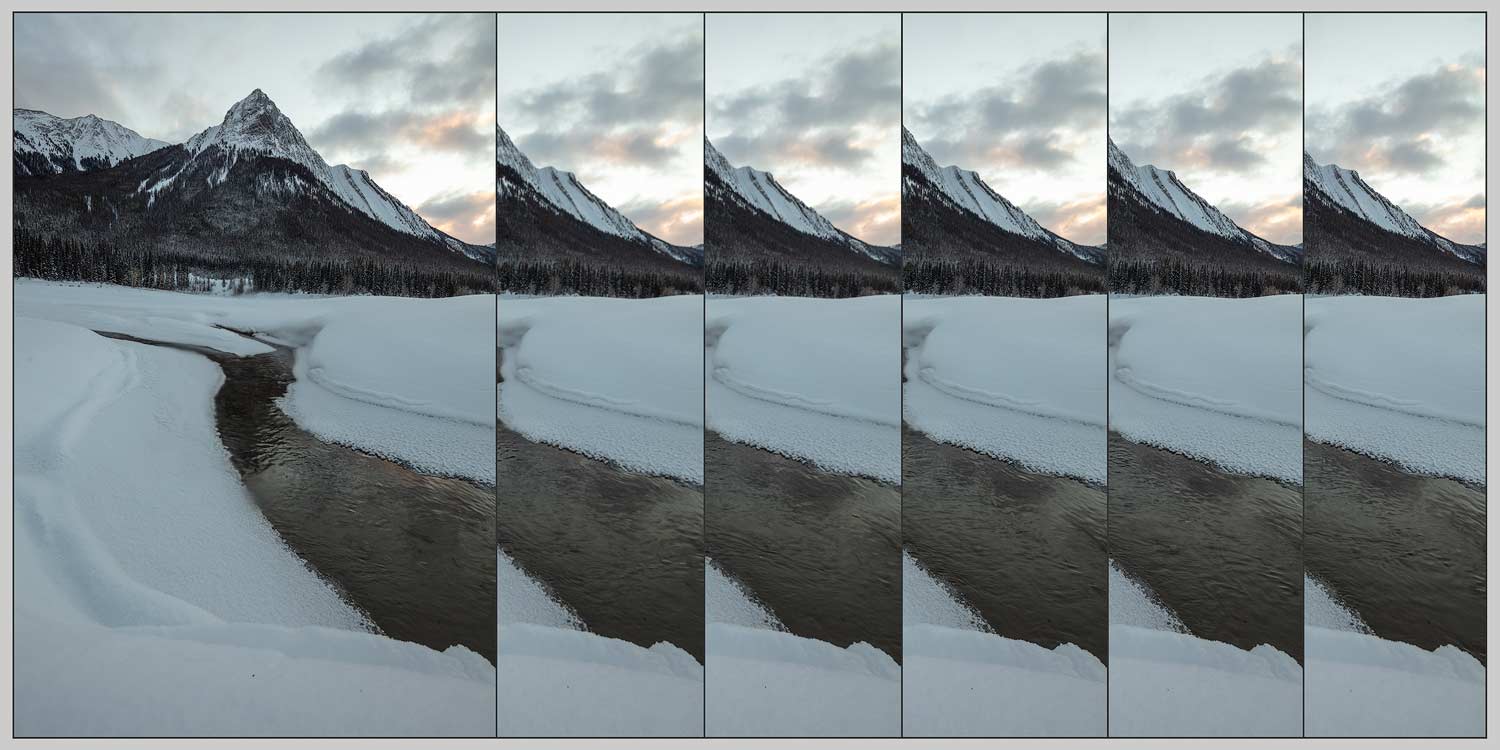
Third Step: Open the additional images as layers in Photoshop. Make sure you open each group of images with the camera rotated to the left and the right on different canvas. If Focus Stacking is needed on these, now would be the right time to do so. Then analyze which part of each additional image will be required to recover the lost details and crop them to only keep what will be required to fix the fog issue.
Fourth step: Once you have cropped the images that will be used to recover the fogged out details, you will need to drag them into your initial canvas. You should now have three layers: One of your initial composition and two additional layers to recover the lost details.
Fifth Step: Make sure to lock your background layer. Next, you will Auto Align all 3 layers together. The reason why you want to lock your background layer is because you want to make sure Photoshop doesn’t alter the background layer by transforming it in order to align it with the other two layers.

Sixth step: Now that both additional layers have been hopefully well aligned with your background, turn them off and on to make sure they are properly aligned with the background. If one of the two layers isn’t perfectly aligned, you can try to re-align that one again or you could manually transform it using the transform tool.

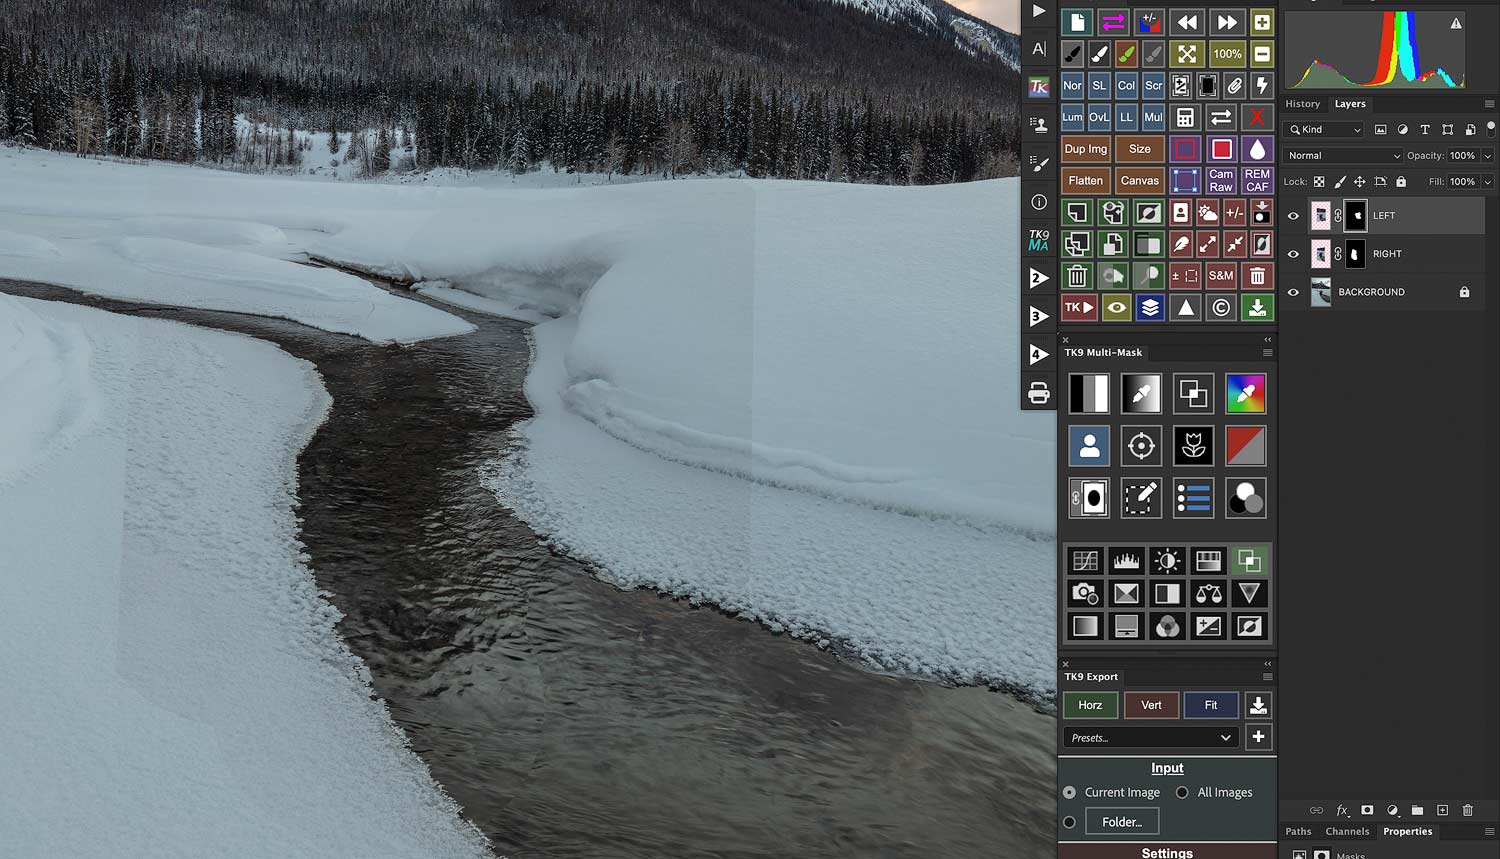
Seventh Step: This one is where the fun starts! Why? Because you will finally see the fruit of your effort! You will apply Black Masks on both additional left and right layers to fully hide them. And you will need to use a White Brush and start unveiling details by painting on the mask. There is no magical recipe…try with a hard edge brush at first but you might also have more success with a soft edge brush. It really is a case by case type of scenario.
…IN CONCLUSION
Sit back and relax! You have managed to successfully recover lost details from a very frustrating phenomena called Lens Fog! This technique might sound a little complicated and overwhelming at first…with a bit of practice, I am sure you can do it.
As far as I am concerned, I was photographing a lovely sunrise and bumped into some serious lens fog issues on one particular morning and I came up with a solution that I had never tried before. And it was a successful solution! I was able to continue with my photography trip. The lens would fog every once in a while but it didn’t stop me from capturing the magic of winter in the beautiful Canadian Rockies! I now had a solution when the lens would fog!
I am of those who believe in prevention…and like I said earlier, I am extremely careful with my camera equipment in order to avoid this very frustrating issue. I actually shared an article in the past that talks about a few different ways to prevent lens fog and I am sure you will want to read this article. If this is the case CLICK HERE.